
Ask the Builder: Time-tested tips for exterior painting
I had the distinct pleasure of touring a huge paint factory in Southern California several years ago. I was allowed to peer down into this massive vat as the solid components of the paint were added. Thousands of gallons of paint were about to be blended to perfection. I was stunned at the sophistication of the operation. Computers, sensors and engineers in white lab coats controlled every aspect of the mixing process.
I believe I was the only member of the press on that tour who had a deep appreciation of what we were seeing. It turns out no other editor or media talent on the tour had applied thousands of gallons of paint over a period of 30 years, as I had. Little did I know how complex it was to make a durable exterior paint.
You might not realize it, but paint is nothing more than colored glue. The chemical formula of many basic paints is almost identical to that of strong yellow carpenter’s glue. My first business partner, John, shared this with me while we ate lunch one day on a job site. John and I painted houses in the summer. We used the money to help pay our college tuition. John went on to get his physical chemistry Ph.D and ended up working for the largest paint manufacturer in the USA.
The adhesive component of paint is often called the resin. Many different adhesives can be used to make paint. Vinyl acetate is one. Acrylic is another. My personal favorite is urethane. Have you ever noticed how clear urethane sticks to wood floors and furniture like the strongest Velcro️ strips you’ve ever tried to peel apart?
I painted my Cincinnati house with an exterior urethane-resin paint in the late 1990s. Drive by the house today, and it looks as good as the day I applied it. It’s not peeling, and it has not faded. I used the same paint to coat my current house in central New Hampshire 15 years ago. It looks like the paint was applied last week. You should buy paint with the best resin if you want it to last.
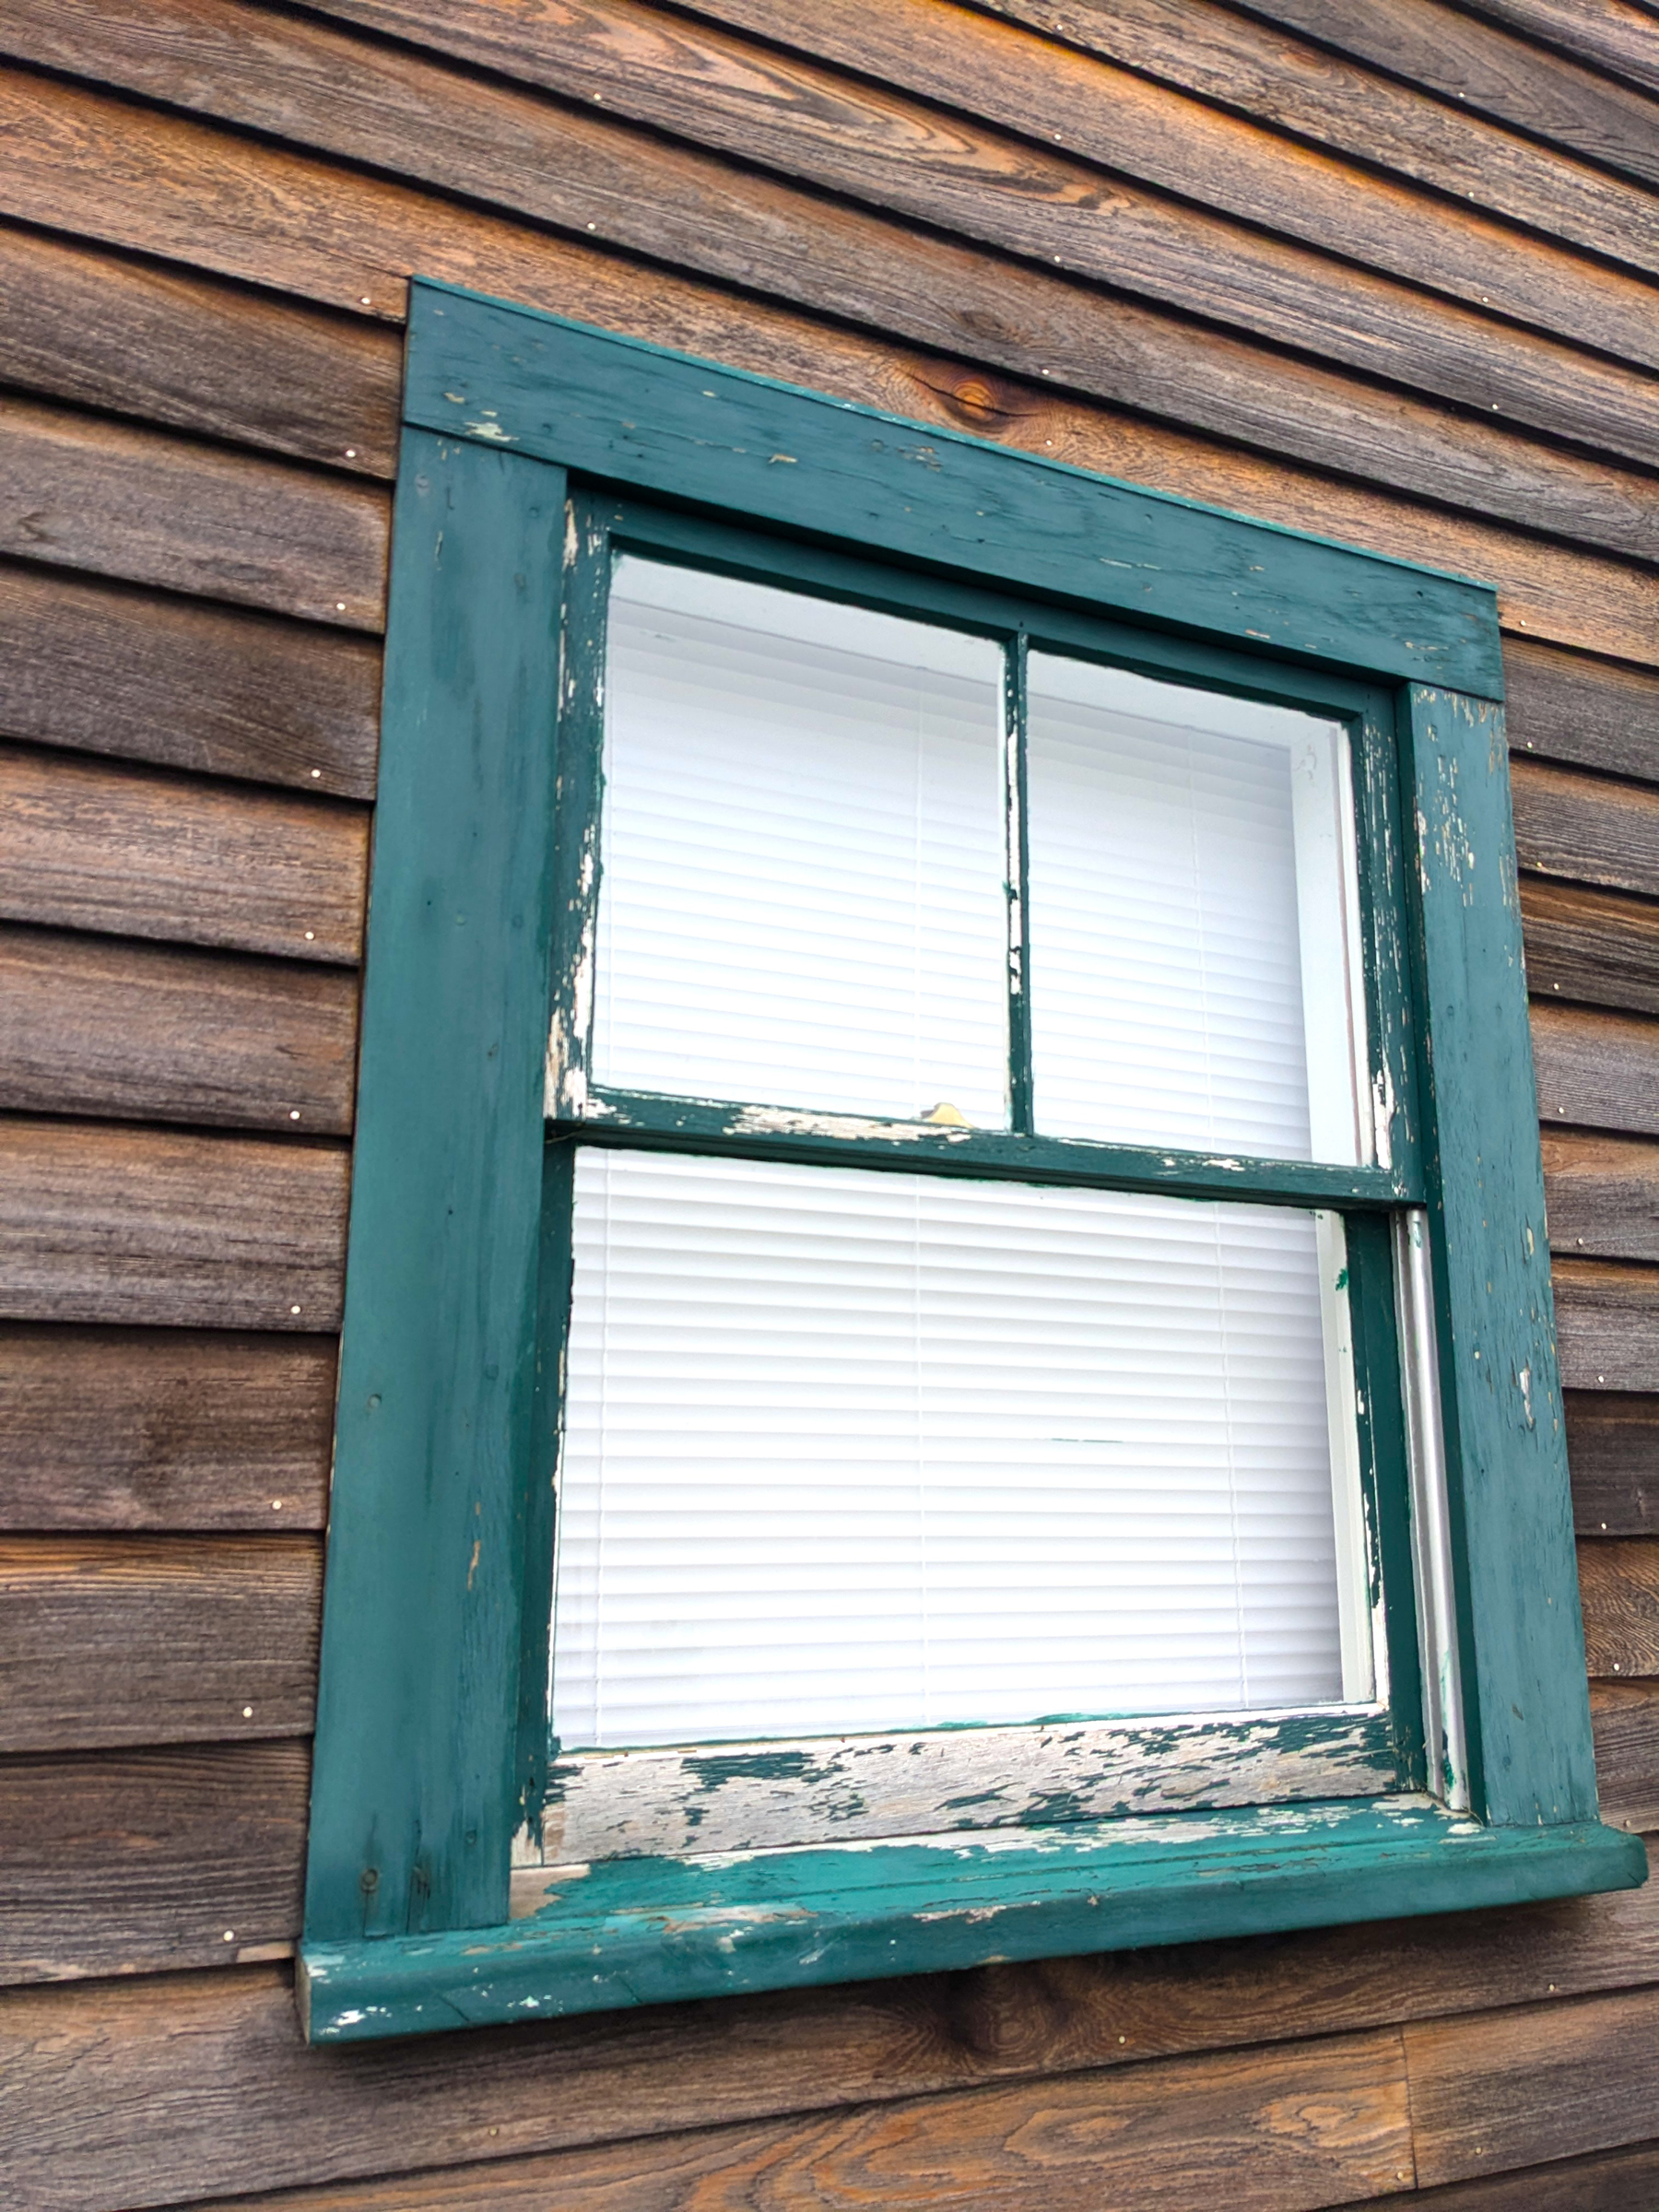
The first step, and I feel many ignore it, is to take five minutes and read the instructions on the paint can label. Be sure to follow them to the letter. You’ll almost always see this sentence: “Apply to a clean, dry, dust-free surface.” Let’s talk about clean and what it really means.
Think about cleaning your body. When you shower, I doubt you just stand under the stream of warm water and twirl around. Instead, you take your hands and rub your skin with soap. You may even use a washcloth or microfiber towel. This motion, or agitation, is what gets you clean. The soap helps remove dirt and oil from your skin.
I maintain that pressure washing your house is the same thing as just standing under your shower head. I can prove it. Take your dirty car to a carwash equipped with a pressure-washing wand. Clean and rinse your car with the tool. Drive out of the bay and park your car. Let it air dry for a few moments. Wherever the dirt was the worst, pull a moist finger across it. I guarantee you’ll get dirt on your finger. Dirt the pressure washing left behind!
I prefer to wash the exterior of a house like I wash my car. I use a wonderful brush that RV owners use to clean the large flat surfaces of their motorhomes. I pre-treat my siding with a mixture of oxygen bleach and liquid dish soap. I always clean in the shade, not direct sunlight. Once finished, my siding and trim are squeaky clean.
Cracks that allow water to sneak behind siding or along windows and doors must be caulked. It pays to purchase the most expensive water-based caulk. These products have better ingredients, in my opinion.
I allow the caulk to cure for 24 hours before painting over it.
Some modern paints don’t require primers. Some do. Pay very close attention to the label instructions for the primers. You may see they dry to touch in as little as an hour, and can be recoated soon after that. This is a very important point that most overlook.
Applying the finish paint as soon as the primer says it can be recoated is the best practice. This ensures the primer doesn’t get dirty, and you often get a physical and chemical bond whereby the primer and finish paint interlock as if they were one paint. You only want to prime as much surface area as you can finish coat on the same day.
The paint label may also say to work in the shade. Many years ago, I discovered the hard way how important it is to do this. I was painting the detached garage of my second home. The trim color was flat black. I was painting in the middle of the afternoon on a hot, cloud-free day. The sunlight was hitting the garage trim like a spotlight on a fleeing prisoner.
Within an hour of applying the paint, blisters appeared on the trim. The hot sunlight boiled the water in the paint, creating water vapor under the fresh paint skin. It was a huge mess.
High-quality brushes make all the difference. The paint will flow better, and you’ll get a better appearance. Get the brush wet before you dip it into the paint. This will help prevent hardened paint from building up on the metal ferrule. Be sure to watch my video demonstrating the secret and proper way to clean paint brushes. I have brushes that are thirty years old that look almost brand new!
I’m very interested in any stories you have about your exterior painting tips. Visit my www.AsktheBuilder.com website and share them with me using the Ask Tim link.
Subscribe to Tim’s FREE newsletter at AsktheBuilder.com. Tim offers phone coaching calls if you get stuck during a DIY job. Go here: go.askthebuilder.com/coaching
©2025 Tim Carter. Distributed by Tribune Content Agency, LLC.


Comments