Home & Leisure
/ArcaMax
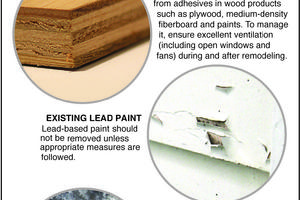
Here's How: Test of Dangerous Materials During Project
Dear James: We are getting ready to do some remodeling in our house. Being old, it may contain lead, asbestos and formaldehyde. Could these be an issue for my children? What should I know before starting? -- Jerry F.
Dear Jerry: Yes, they could present health hazards. You have identified three common indoor pollutants in homes. The period in ...Read more
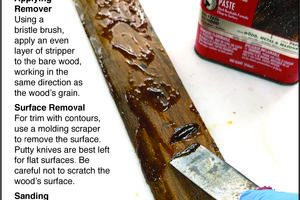
Here's How: Refresh Old Wood Trim Finish
Dear James: The woodwork in my old house could use refinishing. Much of it has complex, intricate profiles. What is the best way to strip it without breaking it? -- Patty G.
Dear Patty: Woodwork in many older houses is truly stunning when it is properly refinished, but care must be taken not to destroy any of the detail when stripping it. The ...Read more

Here's How: Add Openness With a High, Sloping Ceiling
Dear James: I like the openness of a high ceiling. Is it possible to remove some roof trusses to convert part of the ceiling to a high, sloped one or would it be too weak? -- Gail V.
Dear Gail: Changing a room's ceiling to a high, sloped one would totally change the appearance and ambiance of the room. It would require more than just removing ...Read more
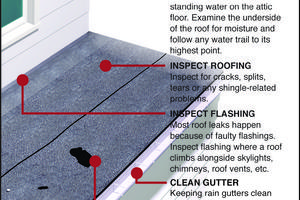
Here's How: Find Leak and Fix Flat Roof
Dear James: There is a small leak from the asphalt roll garage roof. It's not very old, so I prefer to just repair it. How can I locate to leak and fix it? -- Mindy F.
Dear Mindy: Although a flat roll roof is more prone to leaks than a typical pitched roof, there certainly are many leak-free flat roofs. It is wise to inspect a flat roof at ...Read more

Here's How: A Cultured Marble Bathroom Is Stunning
Dear James: We are planning to use cultured marble in our bathroom upgrade instead of tile. Is it easier to keep clean and to install myself to keep on budget? -- Jay E.
Dear Jay: Cultured marble is an excellent choice, particularly if you are looking for a beautiful, low-maintenance bathroom remodel. Its vast array of colors and unique ...Read more
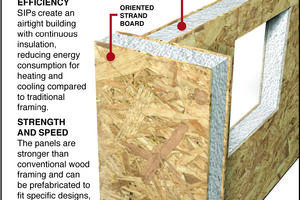
Here's How: Methods To Soundproof New or Old House
Dear James: Our older house is not very soundproof. Do you have tips for making it quieter both in this old house and for when we plan and design our future house? -- Steve R.
Dear Steve: Inadequate soundproofing, especially from outdoor noise, is a common problem with both old and new houses. Even if a new house is built to code, there can ...Read more

Here's How: Replace Old Doorbell for a Better Ring Sound
Dear James: I can barely hear the doorbell ring, so I probably should get it fixed or buy a new one. Is replacing a doorbell a typical DIY project? -- Greg H.
Dear Greg: New doorbells are relatively inexpensive, so attempting to repair an old doorbell is probably not worth the effect. Installing a new one is a simple DIY project. Manufacturers ...Read more
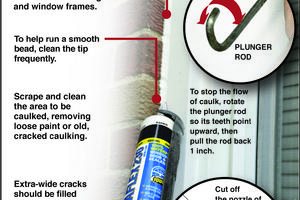
Here's How: Easiest Way To Caulk Windows
Dear James: I weatherstripped my windows last year, but I can still feel a draft near them on windy days. What else can I do myself to reduce these air leaks? -- Troy M.
Dear Troy: Most air leaks by windows can be dramatically reduced by installing new weatherstripping at the window joints. It sounds like you may have some leaky joints around ...Read more
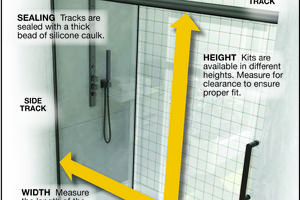
Here's How: Add a Shower Door on Bath
Dear James: My children typically use the same bathroom showering and bathing. The ugly shower curtain leaks water around it. How do I install a shower door to replace it? -- Valerie J.
Dear Valerie: It is an excellent idea to install a shower door in your children's bathroom. Shower doors block shower water spray significantly better than ...Read more
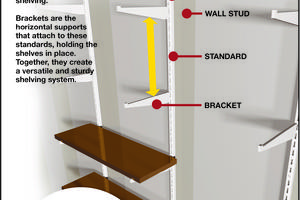
Here's How: Add Bedroom Shelving
Dear James: I have accumulated a lot of stuff that's sitting around on the bedroom furniture. With a small bedroom, what are some ideas for shelving to get the stuff organized? -- Leigh K.
Dear Leigh: Stuff does seem to multiply on its own. Sometimes you need to get rid of the stuff cluttering your life, and sometimes all you really need is to ...Read more

Here's How: Be Sure Building Lot Has Adequate Drainage
Dear James: We have drainage problems and a damp basement in our house. When we select a lot for our new house, what potential drainage issues should we look for? -- Gary C.
Dear Gary: Inadequate drainage can cause significant damage to your home in addition to creating a mess when your children are playing outdoors. One obvious problem is ...Read more

Here's How: Fix Kitchen Sink Plumbing
Dear James: I have a very tiny leak in one of the drain pipes directly under the sink. Is there a simple DIY fix for this so I can avoid having to call in a plumber to replace the pipe? -- Miriam F.
Dear Miriam: It is wise for you to repair even a very slight leak from a pipe underneath your sink. Although it seems like a small problem now, it ...Read more
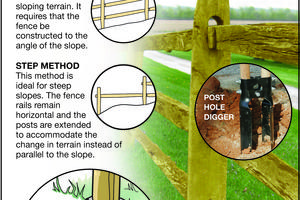
Here's How: Tips for Adding a Rail Fence
Dear James: I want to install an inexpensive, yet attractive fence to keep people (not wildlife) from cutting across my yard. What is an easy-to-install type of fencing?? -- Jerry S.
Dear Jerry: Even though someone can crawl through or over it, a simple rail fence will deter people from crossing your yard, but it will allow animals to get ...Read more


