
Ask the Builder: Kitchen cabinet installation tips
There are several events in a large building project that I find to be exhilarating. One of them is nailing in place the last rafter in a common-framed roof. Standing at the top of the roof skeleton looking down into the house fills me with a sense of pride and accomplishment. There’s more to do until the house is move-in ready, but reaching this plateau is very satisfying.
I get the same feeling when I install kitchen cabinets. What seems like a simple job is not, in reality. You discover quickly that it pays off in spades to invest extra time in the early stages of construction. Floors, walls, soffits, and ceilings need to be perfect if you don’t want to end up swearing like a sailor. Once the cabinets start to connect with one another with ease, all of the work you invested to make it happen produces a euphoric feeling. At least it does for me!
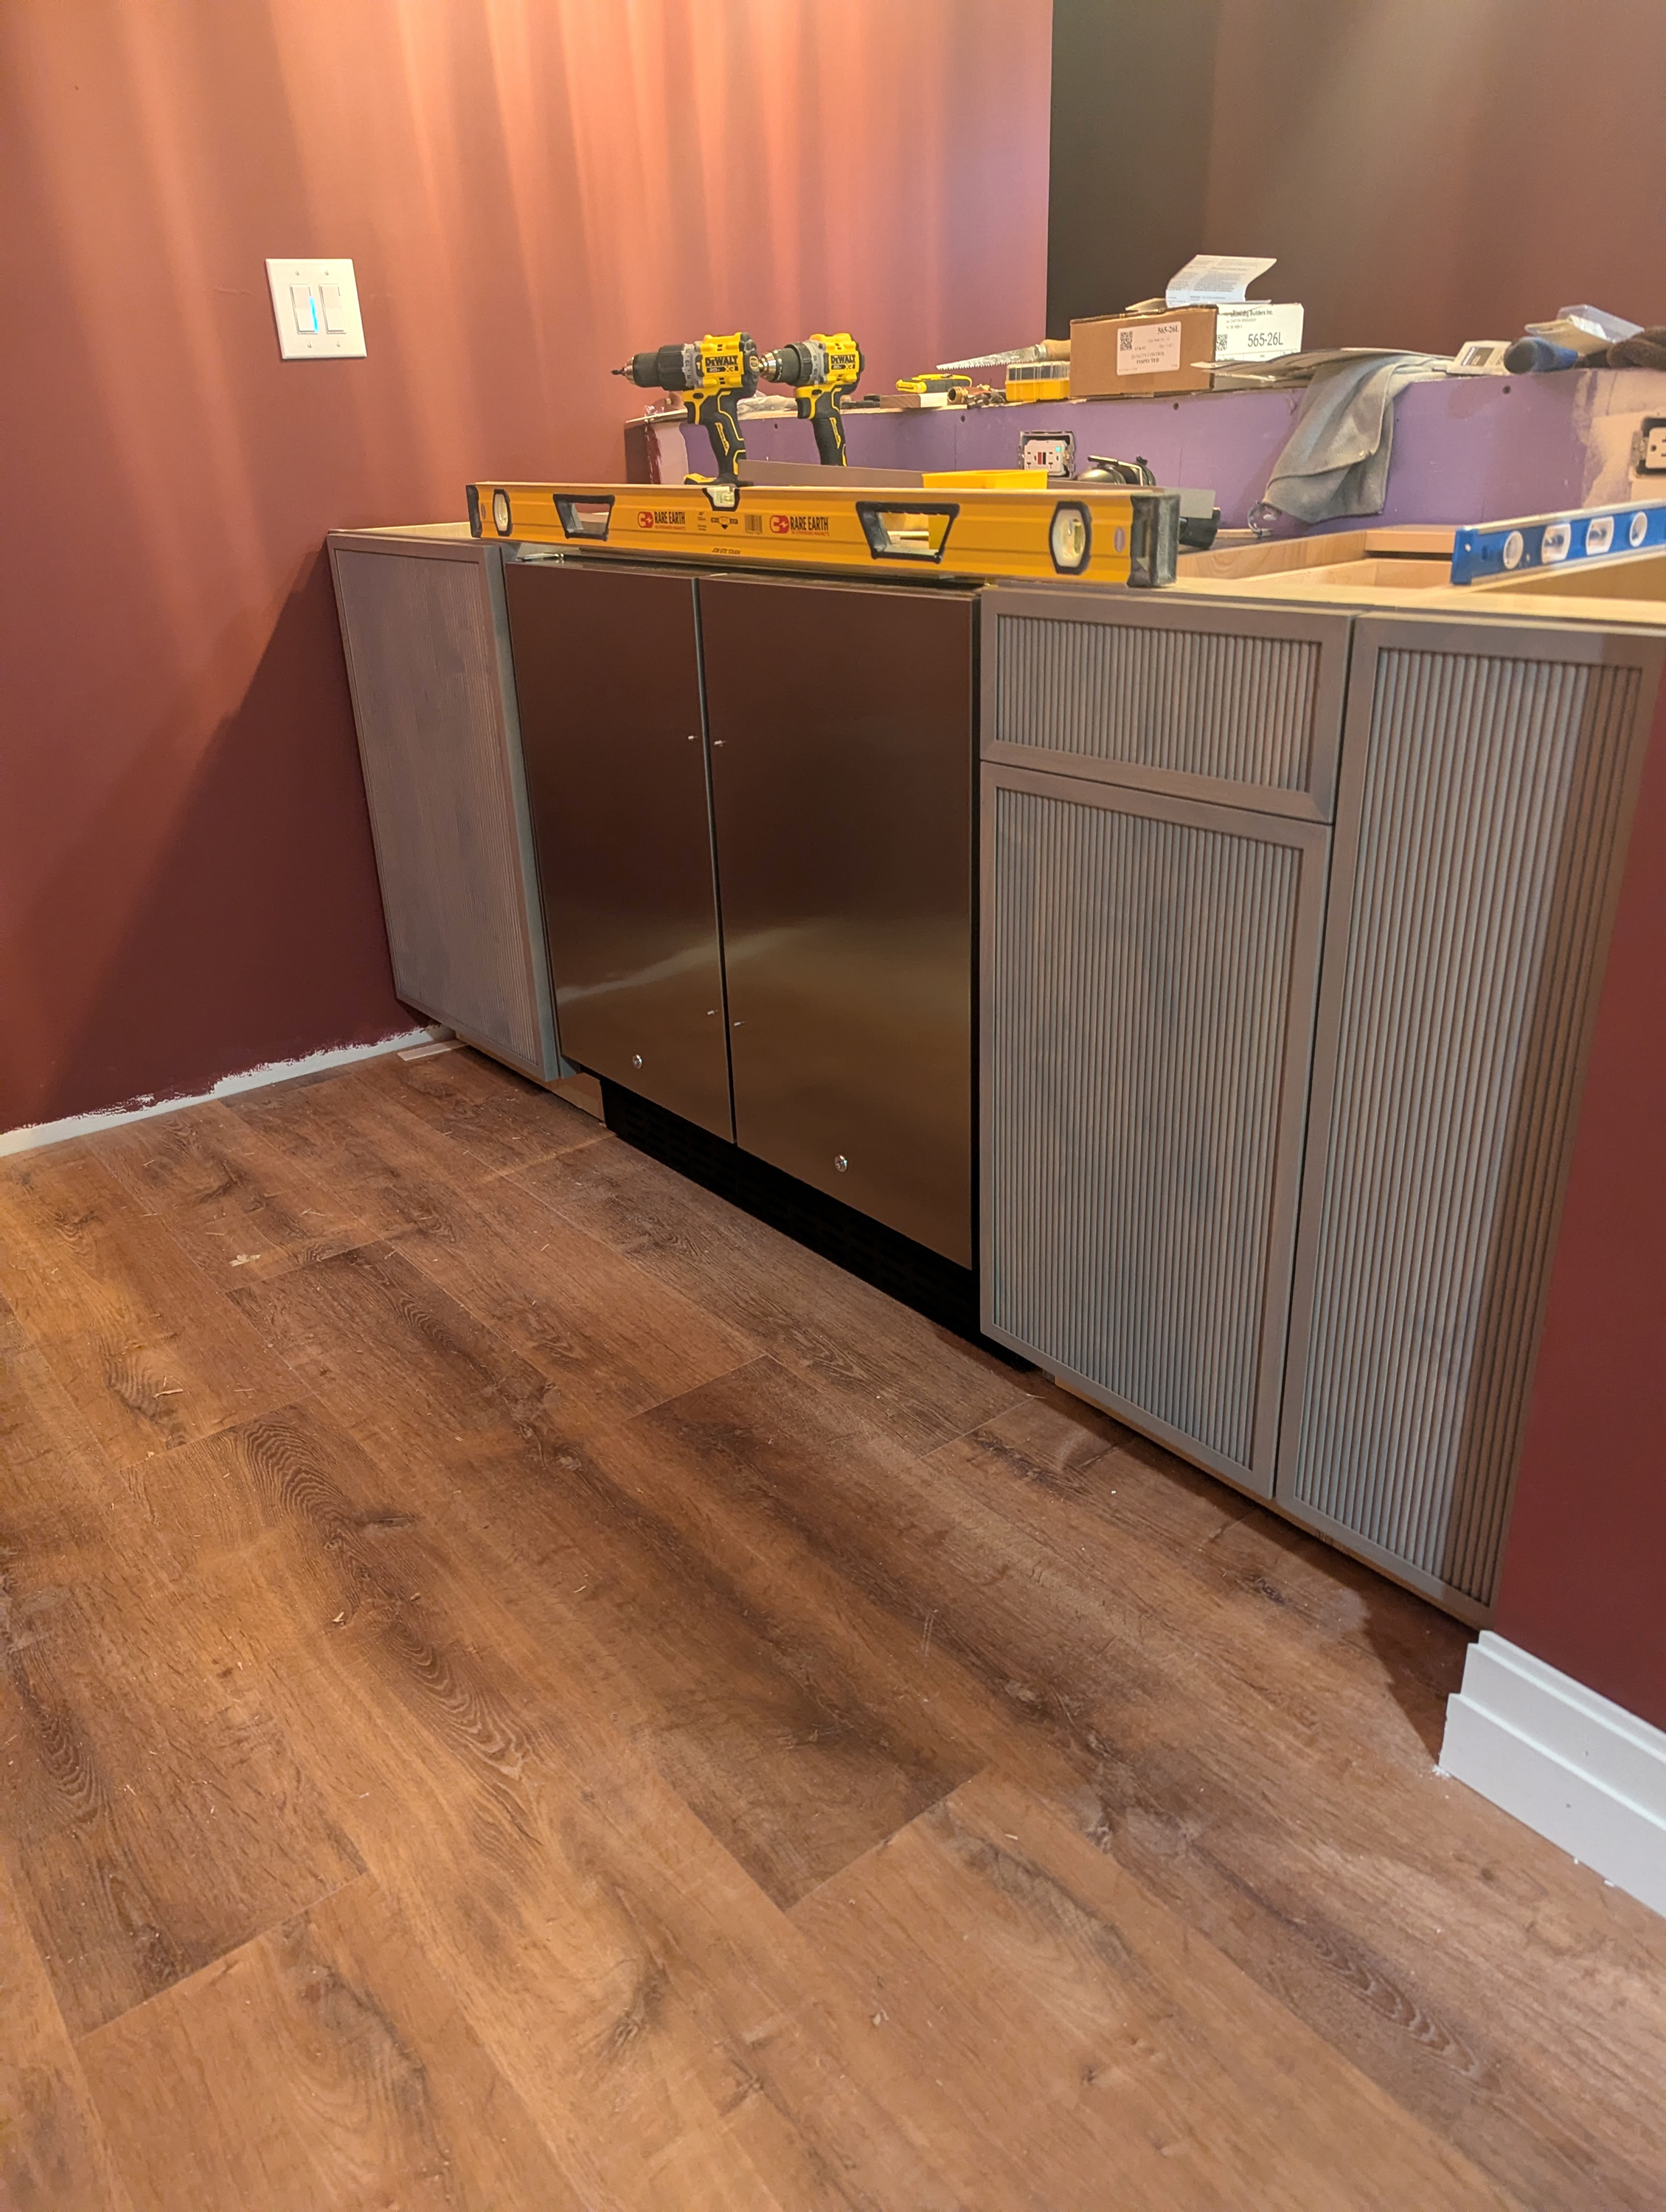
My son and I were finally able to install the six cabinets in his basement speakeasy this past weekend. He was over the moon, as the end of this project is now just weeks away. We can only work on the job one day a week because of his work schedule and my head ushering responsibilities at my church.
I want to share with you a few tips I’ve discovered over the years that help make kitchen or bath cabinet installation more fun than work. It all starts at the floor level, as you might suspect. There are several things you should do in the early stages of building the floors and walls that will help keep you sane once you start the actual cabinet installation.
You want a line of cabinets to be level both left to right and front to back. You can achieve this with ease if the kitchen or bath floor is level. Precision work is required for concrete slab houses to achieve this. Rough carpenters must install floor joists with minimal or no crown. The joists must all be the exact same height.
The kitchen or bath walls must be square and plumb. Squaring walls is pretty simple using the time-tested 3, 4, 5 triangle measurements. Plumbing the walls requires a high-quality level and straightedge. The straightedge should just touch the top and bottom wall plate. Never use a level on a wall stud, as it might have a slight crown. This hump can produce a false reading.
I’ve maintained for years that the use of steel studs for interior kitchen walls is an easy way to produce plumb and flat walls that make cabinet installation child’s play. You can install wood blocking at the correct heights on the inside of the steel studs to give you the required strength to hang wall cabinets.
If you’re forced to use regular wood studs for the walls, take your time and select ones that are perfectly straight with no crowns in them. A crowned stud has a hump in it when you look down the length of the stud. These humps will have you pulling your hair out, if you have any, as you try to align wall and base cabinets. Look for studs where you can see the center dot of the tree when it was a sapling. These studs cut from the center of a tree are usually very straight and will not warp over time.
Common sense dictates hanging wall cabinets first. You don’t want to lean over base cabinets while holding a wall cabinet up. You don’t want to drop a wall cabinet onto a base cabinet or scratch the front of a base cabinet as you struggle with a wall cabinet.
You’ll discover flat pieces of 2-by-4 blocking will prevent you from having to hunt for wall studs. You install this blocking in the framing stage in between the wall studs at the correct height where the top and bottom of the wall cabinets will be. The centerline of the blocking should match up with the centerline of the top and bottom inner horizontal rails of the cabinet. Long screws pass through these rails, holding the cabinet to the wall. Blocking for base cabinets also speeds installation as you don’t have to hunt for the center of a wall stud.
I prefer to remove cabinet doors when I install them. I do the same with interior adjustable shelves. I carefully store them in an adjacent room so they don’t get damaged. Removing the doors and shelves reduces weight. You’ll discover it’s so much easier to install clamps that help you achieve perfect alignment of the face frames of the cabinets.
It goes without saying that I take the time to paint the walls and ceiling before I install cabinets. I also like to have the finished flooring extend under the cabinets. You need to exercise great care when working on finished flooring. I’ll often put down thick cardboard on the flooring. Dropcloths can also be used, but they should be clean and thick. Once again, use your common sense to do whatever is necessary to protect a finished floor.
I can’t stress enough how important it is to make sure that base cabinets are level. This is mandatory should solid stone countertops be in your future. The stone must not have any gaps under it, nor should it teeter on a high spot. This can cause a stone top to crack over time.
Subscribe to Tim’s FREE newsletter at AsktheBuilder.com. Tim offers phone coaching calls if you get stuck during a DIY job. Go here: go.askthebuilder.com/coaching
©2026 Tim Carter. Distributed by Tribune Content Agency, LLC.


Comments