
The Kitchn: How to make a cheese danish for a crowd
There are a few foods that are tightly woven into my happiest memories, and cheese danish is one of them. I grew up eating two kinds of cheese danish, and I loved them both. One was bakery danish, individual treats that were bigger than my whole hand, with a tender yet flaky pastry crust.
The second kind of cheese danish -- Entenmann's cheese danish -- I met a wee bit later. Long and rectangular, this danish was basically a slab pie filled with the most satisfying cream cheese goodness. Like a combo of a cannoli and a New York cheesecake, that filling was a creamy delight. That danish was a mainstay for me, right from the store or a bakery, all through my college, law school, and working lawyer years. That's what this danish is all about.
A delicious dough and a tasty filling
There were two components that made that danish so memorable: the filling and the dough. I learned something over many years of making danishes, with various doughs and fillings. The danish is only as good as the dough. It doesn't have to be fancy bakery-laminated danish dough, but it does have to be light, sweet and even a little fluffy. And you can absolutely make it at home, even if you are new to baking.
A forgiving, easy-to-make dough
After I went to culinary school, I began making danish from scratch, often when having a brunch for my family. But making laminated danish dough is a time-consuming task, and I had kids and jobs and no time. I remember the day that changed.
After some tinkering, I ended up with dough that was soft and easy to handle, tender and able to withstand many hands and variable temperatures -- none of that fussy laminating needed.
Again, when it comes down to it, danish is only as good as the dough; the filling plays the supporting role. Even if you've never made a sweetened yeasted pastry before, give this one a shot. It's first-timer friendly.
How to make danish filling
This filling is a cream cheese classic, but if you want something akin to the European bakery style, substitute half of the cream cheese for farmers cheese if you can find it. It's held together with an egg and just lightly sweetened with sugar.
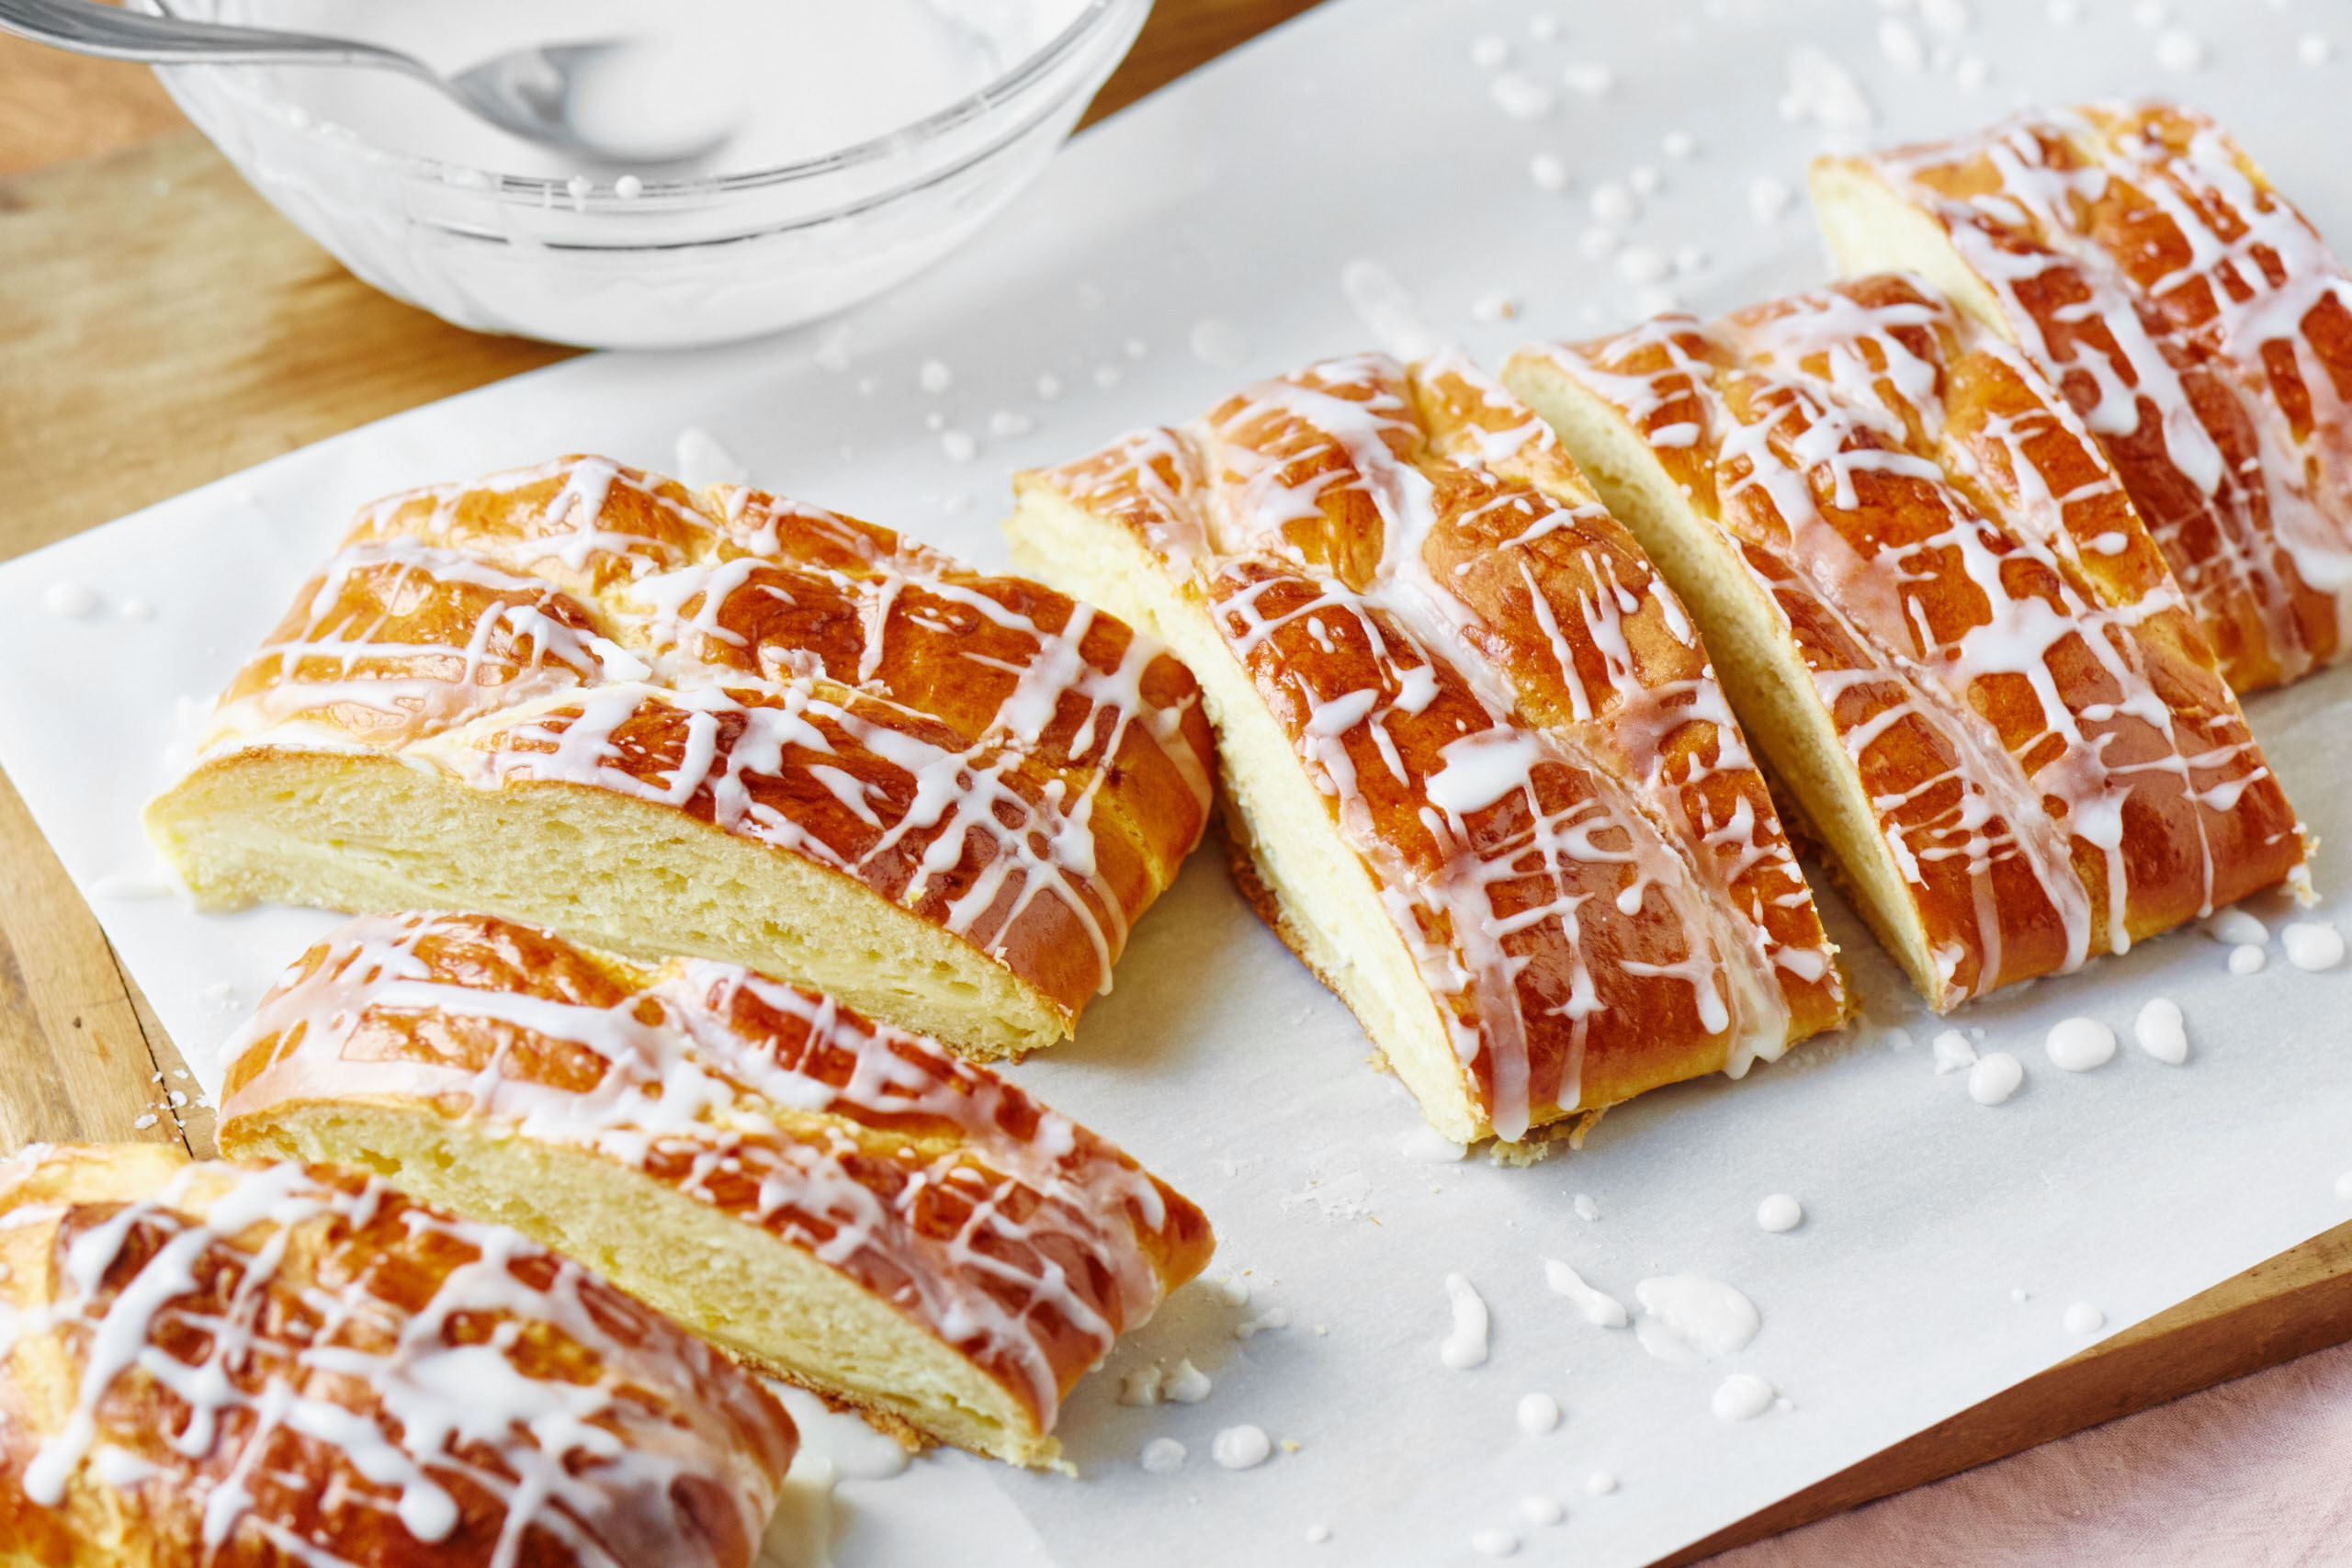
How to create a decorative lattice top
This design is one that looks trickier than it is. You are cutting strips -- both to the right and to the left of a center panel, and then folding those strips back over the center at a slight angle, not quite overlapping. Follow the instructions and you will be fine. I would, however, very strongly recommend that you pull out a ruler to get the thickness and lengths of the strips measured to the same width and length so they all bake evenly. Trust me -- I say from experience that it's much easier to measure it in the first place and get it right than fix it later!
Cheese Danish
Makes 1 (13-by-4.5-inch) pastry
Equipment:
Measuring cups and spoons
Stand mixer with a dough hook
Instant-read thermometer
Rubber spatula
Mixing bowls
Plastic wrap
18-by-13-inch baking sheet
Parchment paper
Rolling pin
Food processor fitted with a metal blade, or electric hand mixer and bowl
Fork
Spoons
Sharp, small knife or pizza cutter
Pastry brush
Cooling rack
Ingredients:
For the dough:
2 tablespoons warm water
1 (1/4-ounce) packet active dry yeast (about 2 1/4 teaspoons)
6 tablespoons (3 ounces) unsalted butter, at room temperature, divided
3/4 cup whole or 2% milk, scalded (see notes)
2 1/2 cups (12 ounces) bread flour, plus more for dusting
3 tablespoons granulated sugar
1/2 teaspoon fine salt
1 large egg
1 large egg yolk
1 teaspoon vanilla extract
Finely grated zest of 1/2 lemon
For the filling:
8 ounces cream cheese, at room temperature
1 large egg
3 tablespoons granulated sugar
Finely grated zest of 1 small lemon
For the egg wash and glaze:
1 large egg
1 teaspoon water
Juice of 1 medium lemon (4 to 5 teaspoons), or 4 to 5 teaspoons milk
1 cup powdered sugar, sifted
1. Proof the yeast: Combine the water and yeast in the bowl of a stand mixer fitted with a dough hook on low speed just until combined. Let stand in the bowl until the mixture is foamy, frothy, and smells distinctly like yeast, about 2 minutes. Add 2 tablespoons of the butter to the milk and let stand until the butter melts and the mixture cools to 95 F.
2. Prepare the dough: Add the flour, sugar, salt, milk mixture, egg, egg yolk, vanilla and zest to the mixer. Mix on low speed just until combined. The dough will seem soft, but it will come together as it is kneaded. Stop the mixer and scrape the side and bottom of the bowl with a rubber spatula.
3. Knead the dough: Increase the speed to medium and knead until smooth, 5 to 6 minutes.
4. Add the remaining butter: Increase the mixer speed to medium-high. Add the remaining 4 tablespoons butter, 1 tablespoon at time, waiting until each tablespoon is mostly mixed in before adding the next. Stop the mixer and scrape the side and bottom of the bowl again.
5. Let the dough rise twice: Transfer the dough to a large bowl. Cover with plastic wrap and let rise in a warm (between 68 F and 72 F), draft-free spot until almost doubled in volume, 30 to 60 minutes. Fold the dough to deflate it. Place the bowl in the refrigerator and let it rise again, until about doubled in volume from its original size, 50 to 55 minutes. While the dough is rising, prepare the filling.
6. Make the filling: In a food processor fitted with a metal blade (or if you are using a handheld electric mixer, in a bowl), process the cream cheese, egg, sugar and zest until smooth and creamy, 30 to 60 seconds. Transfer to a container, cover, and refrigerate until ready to assemble and bake.
7. Prepare to bake: Arrange a rack in the middle of the oven and heat to 375 F. Line a 13-by-18-inch rimmed baking sheet with parchment paper. Dust a work surface and rolling pin with flour.
8. Roll the dough: Remove the dough from the refrigerator and place it on the surface. Roll out the dough, moving it to ensure that it won't stick and adding flour underneath if it sticks a bit, into a 12-by-14-inch rectangle that is 1/8-inch thick. Transfer it to the prepared baking sheet. Cover loosely with plastic wrap and let rise 20 to 30 minutes.
9. Make an egg wash: Whisk the egg and water in a small bowl; set aside.
10. Fill the dough: Spoon the filling lengthwise down the center of the rectangle of dough, creating a strip of filling that is 12 inches long and 3 1/2 inches wide, leaving a 1-inch border at each short end and a 4 1/4-inch border on each long end.
11. Cut strips on either side of the filling: Using a very sharp, small knife or pizza cutter, cut the unfilled sides of the dough into 1 1/2-inch wide strips that are perpendicular to the line of filling (as if you were making thick fringe on either side of it); but do not detach them from the main rectangle. Make the incision into the dough about 1/4 inch from the filling. You will have 12 strips per side.
12. Fold the strips: Position the baking sheet so a short end is facing you. Starting with the top left strip, fold it up and over the filling at a slight angle. Next, fold the top right strip up and over the filling, meeting and slightly crossing the first strip, making a sort of crisscross or chevron pattern. Continue alternating left and right strips so you wind up with a crisscross that covers most of the filling. Press the dough strips together firmly without squishing the filling so the strips stay together when baked. Seal the danish by pinching together the uncovered ends and the strips closest to them.
13. Brush with egg wash: Using a pastry brush, liberally brush the top of the danish with the egg wash.
14. Bake the danish: Bake until a warm caramel brown in color, 25 to 33 minutes. Let cool on the baking sheet for 5 minutes. Place a large piece of parchment on a work surface and set a cooling rack over it. Slide the danish onto the cooling rack and cool completely.
15. Ice the danish: When the danish is cool, whisk the lemon juice or milk and powdered sugar in a small bowl until fully incorporated. Drizzle the glaze back and forth over the danish in a zigzag pattern. Cut into slices and serve.
Recipe notes:
Scalding: To scald milk, heat it in a saucepan set over medium-low heat until tiny bubbles form at the edge of the pan, just before it simmers, about 180 F to 185 F. Be careful not to let it boil. (If you don't have a thermometer, test it with your finger; it should be warm, not uncomfortably hot.)
Mixers: If you don't have a stand mixer, a handheld electric mixer is not a good alternative for this yeast dough. You can try making these by hand, but you risk making a dense, greasy dough if you are not an expert. I have been making doughs seemingly forever, and I (almost) never do it by hand and I don't know many professional bakers who do either. This recipe is easier, most consistent, and simply all-around better when made with a stand mixer.
(Tami Weiser is a contributor to TheKitchn.com, a nationally known blog for people who love food and home cooking. Submit any comments or questions to editorial@thekitchn.com.)