
The Kitchn: There’s nothing quite like homemade beef broth
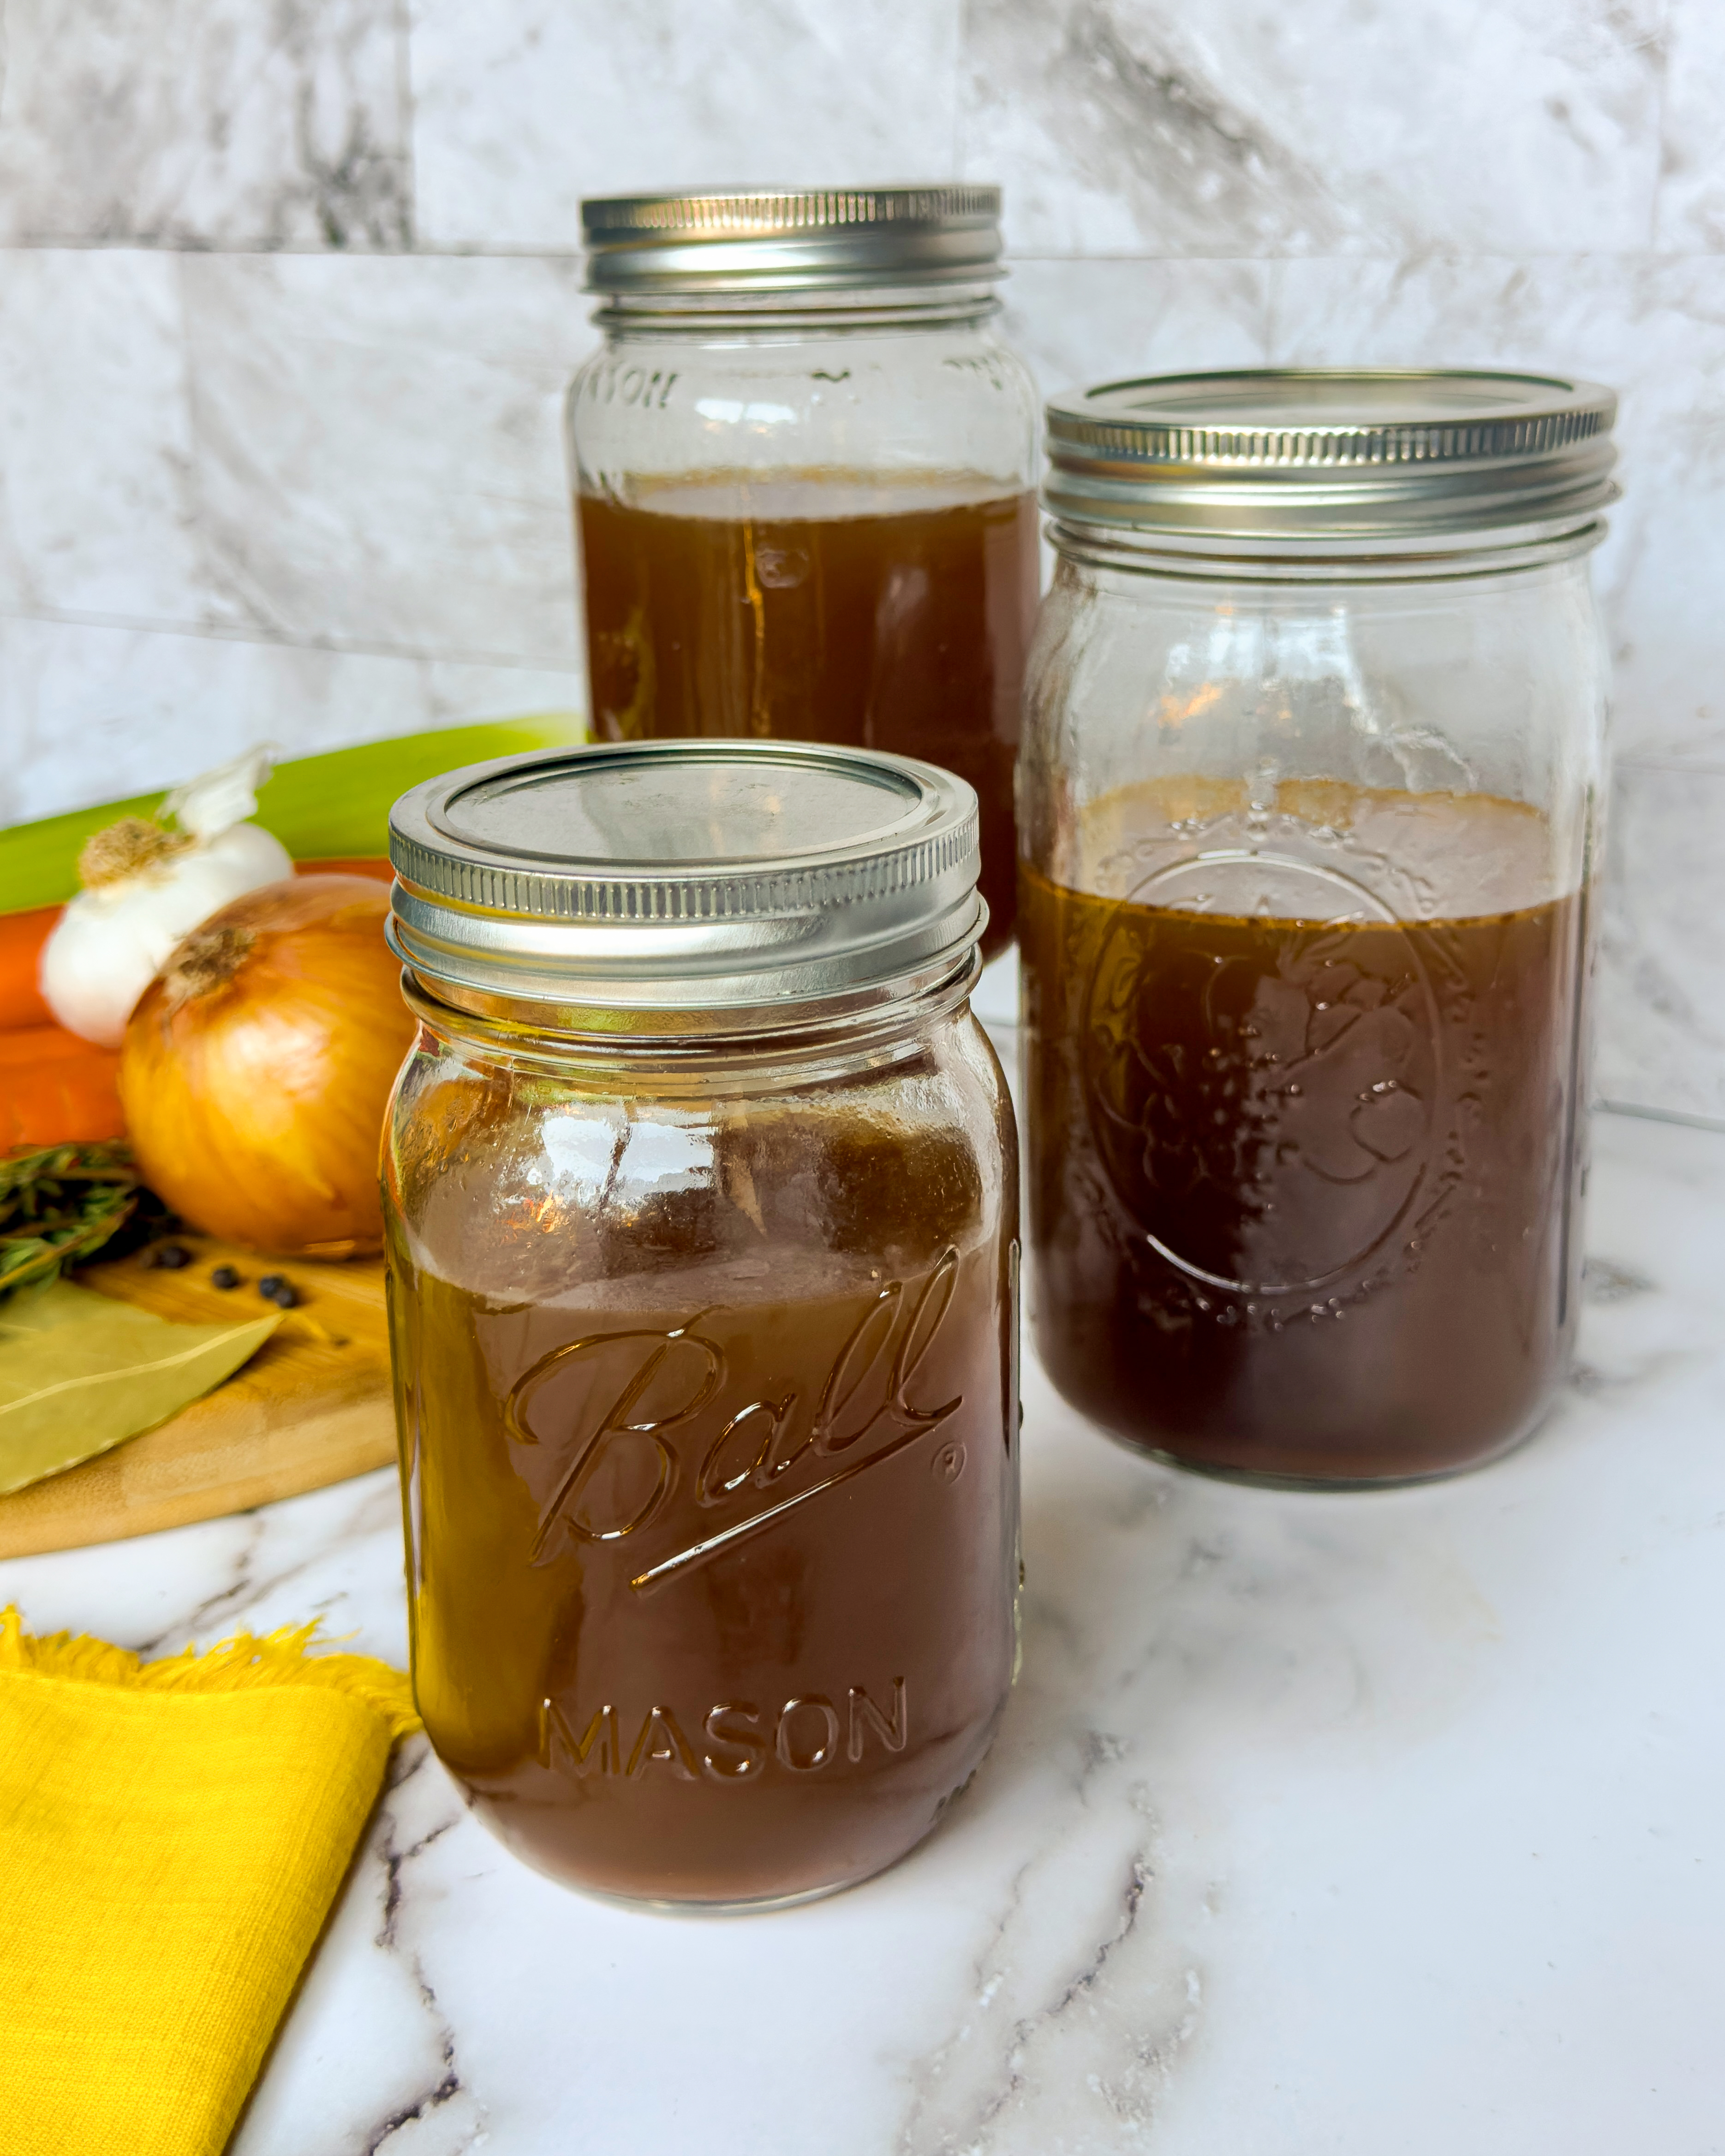
Beef broth is one of the key ingredients in beef stews, pot roasts, and a variety of comforting beef dishes. Although there are many good-quality beef broths available to buy at the store, there is nothing quite like making your own and adapting the flavors and seasonings to your own taste or what you’ll be using it for. It is also delicious and comforting to drink a hot cup of bone broth during the colder winter months — especially if you’re feeling under the weather.
Beef broth vs. beef stock
Although they can be both used interchangeably in most recipes, there are some differences.
Best meat bones for beef stock
I like to roast a variety of meaty, gelatinous bones to get the best flavor and consistency. It’s also more cost effective to include cheaper cuts and bones — just check with the butcher to see what they have! Here are some examples of meaty beef bones:
Add tomato paste for a rich flavor
I like to add a couple of tablespoons of caramelized tomato paste to my broth. This not only makes the broth richer in flavor, it helps give a better color. Usually this is done on the stovetop and caramelized along with the carrots, celery, and onions (this is a French culinary method called pinçage). However, adding it to the baking sheet to roast for 30 minutes is a quick hack to avoid that step.
Why add red wine vinegar?
Some people believe that adding vinegar to broth or stock to the water when it’s boiling helps draw out the minerals; others think it’s a myth! True or not, I like to add vinegar, especially acidic red wine vinegar, to beef broth, as I feel it helps balance out the flavor and fattiness from the gelatinous bones.
Tips for clearer, better beef broth
Instead of adding loose herbs into the stockpot, or even a bouquet garni, I like to create a sachet d’epice. It’s similar to a bouquet garni in the sense that it’s a bundle of herbs and aromatics, except that said herbs and aromatics are enclosed in a cheesecloth and tied into a bundle with butcher’s twine. I did side-by-side testing and can confidently say that using the sachet yields a clearer, less murky broth, as the cheesecloth protects some of the impurities from escaping (which also means less skimming any scum from the surface).
Don’t have any cheesecloth handy? Fear not! Use a large coffee filter to use as the outer layer of the parcel. You can also use coffee filters instead of cheesecloth to line the fine-mesh sieve when straining at the end! To avoid a cloudy broth, avoid pressing the solids through when straining at the end.
Beef Broth
Makes 4 to 7 1/2 cups
4 pounds meaty beef bones, preferably a mixture of oxtail, short rib, beef shank, and marrow
2 tablespoons canola oil
3 medium carrots (about 8 ounces total)
3 medium stalks celery (about 6 ounces total)
2 medium yellow onions (about 15 ounces total)
3 large cloves garlic
2 tablespoons tomato paste
1/2 medium bunch fresh parsley
8 sprigs fresh thyme
3 dried bay leaves
1 tablespoon whole black peppercorns
1/4 cup red wine vinegar
Kosher salt
1 to 3 teaspoons soy sauce (optional)
1 cup ice cubes
1. Arrange a rack in the middle of the oven and heat the oven to 450 F.
2. Rinse 4 pounds beef bones thoroughly under cold water and pat dry with paper towels. Place on a large rimmed baking sheet. Drizzle with 2 tablespoons canola oil and rub onto the bones to coat. Arrange into an even layer and roast until lightly browned, about 30 minutes.
3. Meanwhile, cut 3 medium carrots and 3 medium celery stalks into rough 3-inch pieces. Peel and quarter 2 medium yellow onions. Smash and peel 3 large garlic cloves.
4. Remove the baking sheet from the oven. Flip the bones. Nestle the carrots, celery, onions, and garlic around the bones, tossing to coat in the rendered fat. Dollop 2 tablespoons tomato paste in small spoonfuls into the rendered fat on the baking sheet (you do not need to spread the paste as it will distribute during the simmering).
5. Return the baking sheet to the oven. Roast until the vegetables are caramelized in spots, the bones are a deeper brown, and the tomato paste has caramelized and is slightly darker in color, about 30 minutes.
6. Meanwhile, trim the bottom 3-inches of stems from 1/2 bunch fresh parsley; reserve the tops for another use. Place the parsley stems, 8 fresh thyme sprigs, 3 dried bay leaves, and 1 tablespoon whole black peppercorns in the center of 8-inch-square piece of cheesecloth (do a double layer of cheesecloth if the weave is large) or inside a coffee filter. Fold up the sides of the cloth or filter and roll to create a parcel; tie tightly closed with kitchen twine.
7. Bring a kettle or a small saucepan filled with about 1 cup water to a boil over medium heat. Meanwhile, transfer the roasted bones and vegetables to a large, deep stock pot with tongs or a slotted spoon. Carefully pour off the fat into a heatproof bowl (if you want to save it for another use, pour through a fine-mesh strainer and refrigerate).
8. Pour the hot water onto the baking sheet and scrape up any browned bits from the bottom with a wooden spoon. Pour the pan juices and browned bits into the stockpot.
9. Add enough cold water to the stockpot to just cover the bones and vegetables, about 3 quarts. Add 1/4 cup red wine vinegar and the herb bundle. Bring to a boil over high heat. Reduce the heat to low and gently simmer uncovered, skimming the surface as needed to remove any scum from the surface (no need to skim off the fat, as this is removed once chilled), until it has developed a rich color and body, at least 4 hours and up to 12 hours. Top up with water for only the first couple of hours to ensure that bones and vegetables are submerged. The longer it simmers, the deeper the flavor and color.
10. Remove any large visible bones and the herb bundle with tongs or a spider (if you used meaty bones, you can pick off the meat for another use) and discard.
11. Line a large fine-mesh strainer with a double layer of cheesecloth or a layer of opened-out coffee filters and fit over a large liquid measuring cup or large bowl. Strain the broth in batches, letting it strain naturally without pressing the solids. It is ok to stir gently, but be patient if you can! It will take longer to strain through coffee filters.
12. Discard the contents of the strainer. Taste and season the broth with kosher salt as needed. If you want a deeper color, add 1 to 3 teaspoons soy sauce.
13. To cool safely, add 1 cup ice cubes to the broth (it won’t weaken the flavor if you’ve simmered for a sufficient amount of time). Let cool for 30 minutes, then refrigerate for at least 3 hours or up to overnight. Once chilled, you can easily pick off the layer of solidified fat; discard or add to the rendered fat you already saved.
Recipe notes
Storage:The broth can be refrigerated in an airtight container for up to five days or frozen for up to four months.
(Tara Holland is a contributor to TheKitchn.com, a nationally known blog for people who love food and home cooking. Submit any comments or questions to editorial@thekitchn.com.)
©2023 Apartment Therapy. Distributed by Tribune Content Agency, LLC.