
The Kitchn: Easy, gluten-free cinnamon rolls are Sunday morning goals
Mornings are made for cinnamon rolls. Tender dough swirled with a fragrant cinnamon filling and smeared with sweet icing -- what's not to like? I love smelling the yeast as it perks up in a warm bath of milk and sugar; feeling the dough come together between my hands; sprinkling sweetened cinnamon over the top, always knowing that I'll add a little more than what is necessary; and rolling the soft dough and watching that elegant swirl form.
With a few swipes of a knife, generously-sized rolls are ready for the oven. Run to the kitchen, friends, because these easy-to-make gluten-free cinnamon buns deliver on every desire, craving, and expectation you've ever had for a truly delicious homemade cinnamon roll.
The most important tool might surprise you
The way you mix your dough is the key element to baking up a tender gluten-free cinnamon roll. When it comes to yeast breads, I usually lean on my stand mixer to do the hard work of kneading. But, as with most gluten-free baking, we need to step back and reevaluate our baking memory muscle.
Gluten-free doughs reach peak "gluten-style" performance on a bell curve, and all you need is a wooden spoon to make a cohesive dough. Be careful not to overmix, since doughs made with xanthan gum -- the ingredient used in gluten-free baking that mimics gluten -- can be overworked into an unappetizing gummy texture that will not hold the air bubbles that make cinnamon buns so light and tender.
For this recipe in particular, don't use the stand or hand mixer -- go the traditional bowl-and-spoon route.
Do not exclude the egg
Traditional to most cinnamon bun recipes, but especially important here, is the inclusion of eggs. Eggs are truly a miracle food, providing function and flavor to gluten-free cinnamon rolls. Egg whites consist of protein and water, and that protein plays a vital role in these gluten-free cinnamon buns. The egg protein (and xanthan gum from the baking mix) function to replace the gluten proteins that traditionally add structure to yeast breads.
Yes, even soft and tender morning buns need structure to hold those air bubbles in place and give the buns a nice lift. The yolks are mostly fat, providing flavor and encouraging tenderness in the dough.
Serving gluten-free cinnamon buns
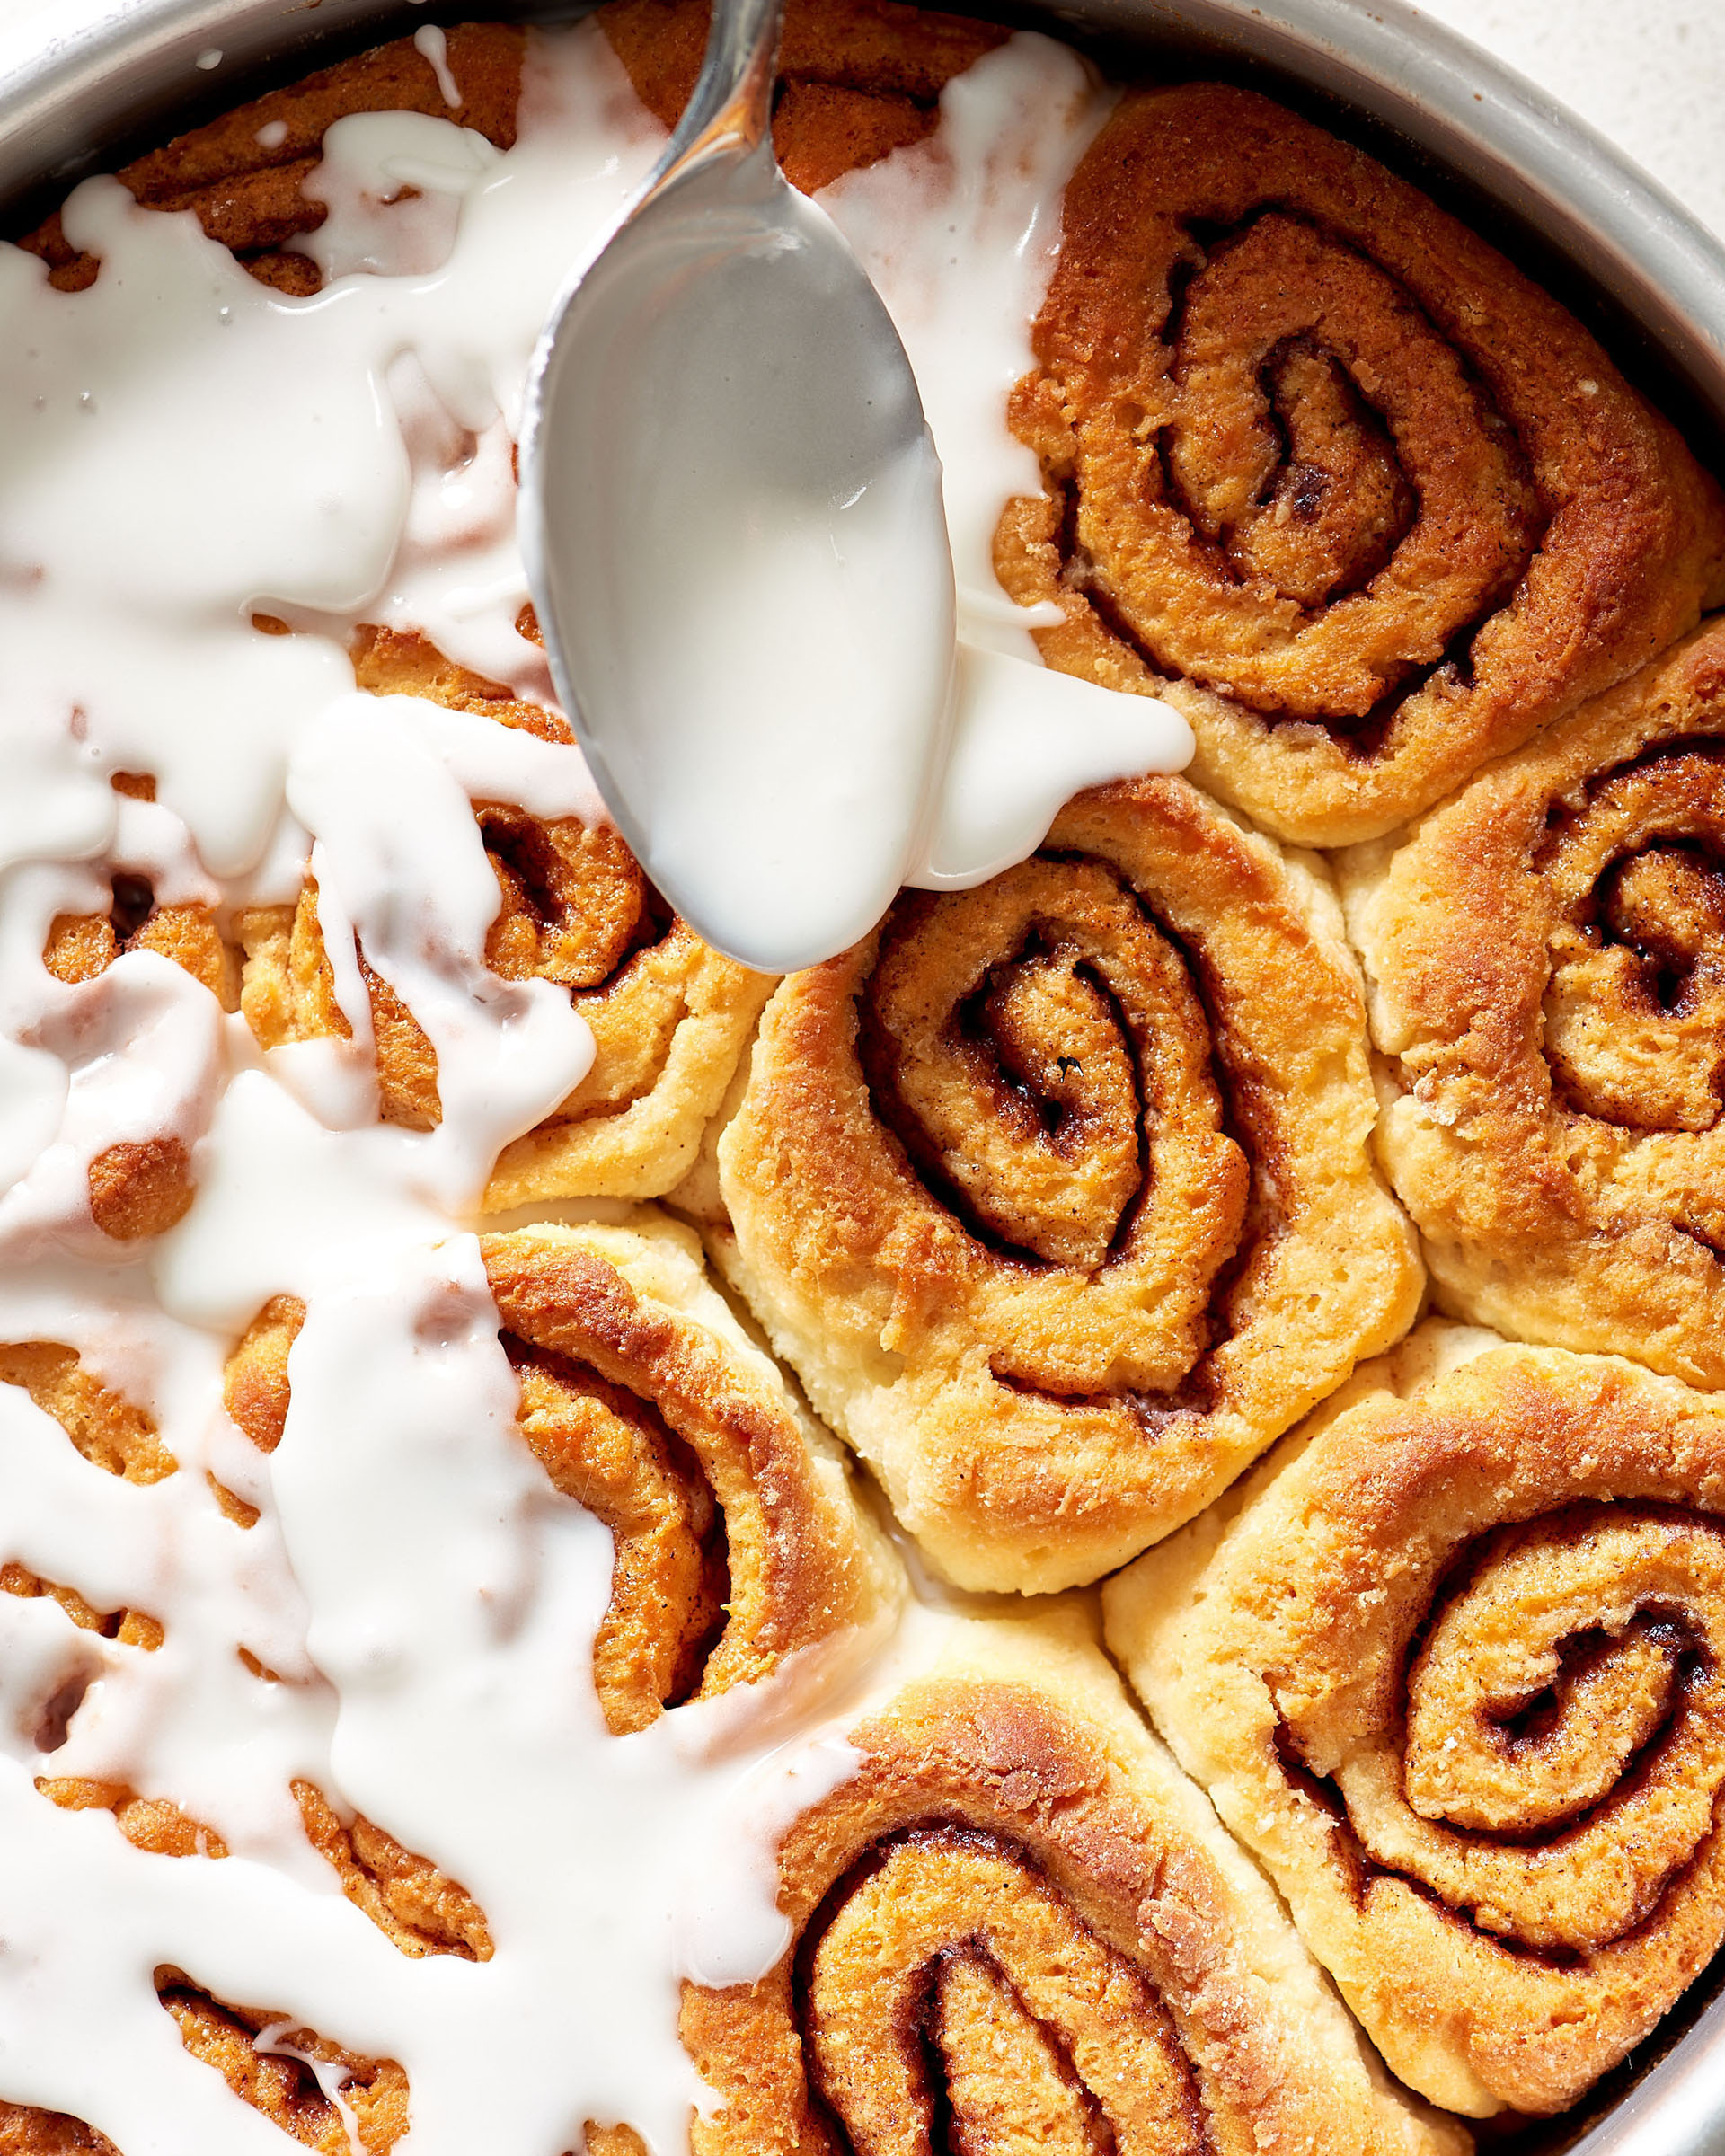
The buns bake up soft and tender, with slightly browned centers. You should expect some cracking in the cinnamon buns, rather than the smooth, stretchy exterior that you may have come to expect in traditional recipes. Do not fear -- the inside is tender and moist. Give the buns just a few minutes to cool on a rack after taking them out of the oven before spooning on the glaze. This keeps the glaze from melting off of the buns, while remaining warm enough to smother the tops of the buns with sweet icing.
Gluten-Free Cinnamon Buns
Makes 12
For the gluten-free cinnamon buns:
Cooking spray
1 cup lukewarm whole milk (about 105 F)
1 (1/4-ounce) package active dry yeast (2 1/4 teaspoons)
1/2 cup plus 1 tablespoon granulated sugar, divided
1 large egg
5 tablespoons unsalted butter, melted, cooled, and divided
3 cups gluten-free flour blend, such as Bob's Red Mill Gluten-Free 1-to-1 Baking Flour, plus more for dusting
2 teaspoons baking powder
1/2 teaspoon salt
For the cinnamon-sugar filling:
1/4 cup granulated sugar
1 1/2 teaspoons ground cinnamon
3 tablespoons unsalted butter, melted
For the glaze:
1 cup powdered sugar
1 tablespoon whole milk
Pinch salt
Coat a 9-inch round metal cake pan with cooking spray; set aside.
Activate the yeast. Pour the milk into a medium mixing bowl. Sprinkle the yeast and 1 tablespoon of sugar over the milk, and set aside until the yeast dissolves and is bubbly, about 5 minutes.
Make the dough. Add the egg and 4 tablespoons melted and cooled butter to the yeast mixture. Place the gluten-free baking flour, baking powder, salt, and 1/2 cup sugar in a large bowl and whisk to combine. Add the flour mixture to the wet mixture, and stir by hand until well-combined. The dough will be more of a thick, tacky batter than a stretchy dough -- similar in appearance to cookie dough.
Roll the dough out. Dust a piece of parchment paper with gluten-free baking flour, and scoop the dough onto the parchment. If the dough is too soft to roll out, set aside for 10 minutes to firm up. Roll the dough into a 10-by-16-inch rectangle (about 1/4-inch thick). Position it so that the longer side faces you.
Mix the cinnamon-sugar filling. Stir the 1/4 sugar for the filling and cinnamon together in a small bowl; set aside.
Brush the dough with melted butter, and sprinkle the cinnamon-sugar filling. Brush the surface of the dough with 3 tablespoons melted butter, leaving a 1-inch border at the top. Sprinkle the cinnamon-sugar mixture evenly over the buttered dough.
Roll the dough into a log. Roll the dough into a tight log and pinch the seam together at the top to seal.
Cut the dough crosswise into buns. Turn the log so the seam side is down. Use a serrated knife to cut the dough crosswise into 12 (1 1/4-inch) pieces.
Arrange the buns in cake pan and set aside for 1 hour. Place the rolls cut-side up in the prepared cake pan. Cover with a clean kitchen towel or plastic wrap and set aside in a warm place to rise for 1 hour. The buns will not double in size, but will soften and expand slightly.
Heat the oven and brush the buns with melted butter. Arrange a rack in the middle of the oven and heat to 350 F. Once risen, brush the tops of the buns with the remaining 1 tablespoon melted butter.
Bake the buns. Bake the buns until light golden-brown and a toothpick inserted in several spots comes out clean, about 30 minutes.
Make the glaze. Whisk all the glaze ingredients together in a small bowl until smooth.
Ice the buns and serve. When the buns are ready, place the pan on a cooling rack and let cool for 2 to 3 minutes. Spoon the glaze evenly over the cinnamon buns before serving.
Recipe notes: Cinnamon buns can be made up to 24 hours in advance. Arrange the buns in a baking dish, cover with plastic wrap, and refrigerate. Remove from the refrigerator one hour before baking, brush with melted butter, and then bake as instructed above. Alternatively, freeze the buns on a parchment-lined baking sheet. Once frozen transfer to a zip-top freezer bag and freeze for up to two weeks. Transfer buns to the cake pan, thaw in the refrigerator overnight, then remove from the fridge one hour before baking according to instructions above. Cinnamon buns are best eaten immediately after baking.
(Patty Catalanois a contributor to TheKitchn.com, a nationally known blog for people who love food and home cooking. Submit any comments or questions to editorial@thekitchn.com.)