
THE KITCHN: Fear not the homemade pie crust!
I am very worried, friends -- worried that the fear of pie crusts may be keeping a great many of you from making your own pies at home. Is this true? Does this sound like you? Do debates over butter vs. lard or tender vs. flaky make you want to run and hide?
Well, take a deep breath and grab your notebook -- today we're going to go over how to make a pie from start to finish, one step at a time.
Here's your first lesson: Homemade pies do not have to be perfect. Really. This is a hard lesson to learn because we want that perfectly crimped and beautifully burnished pie crust so badly! I completely understand. But when your pie crust rips in half while you're transferring it to the pan or when you don't have quite enough dough to make those tall, crimped edges -- it's OK. Remind yourself that at the end of the day you still have pie, and that's all that matters.
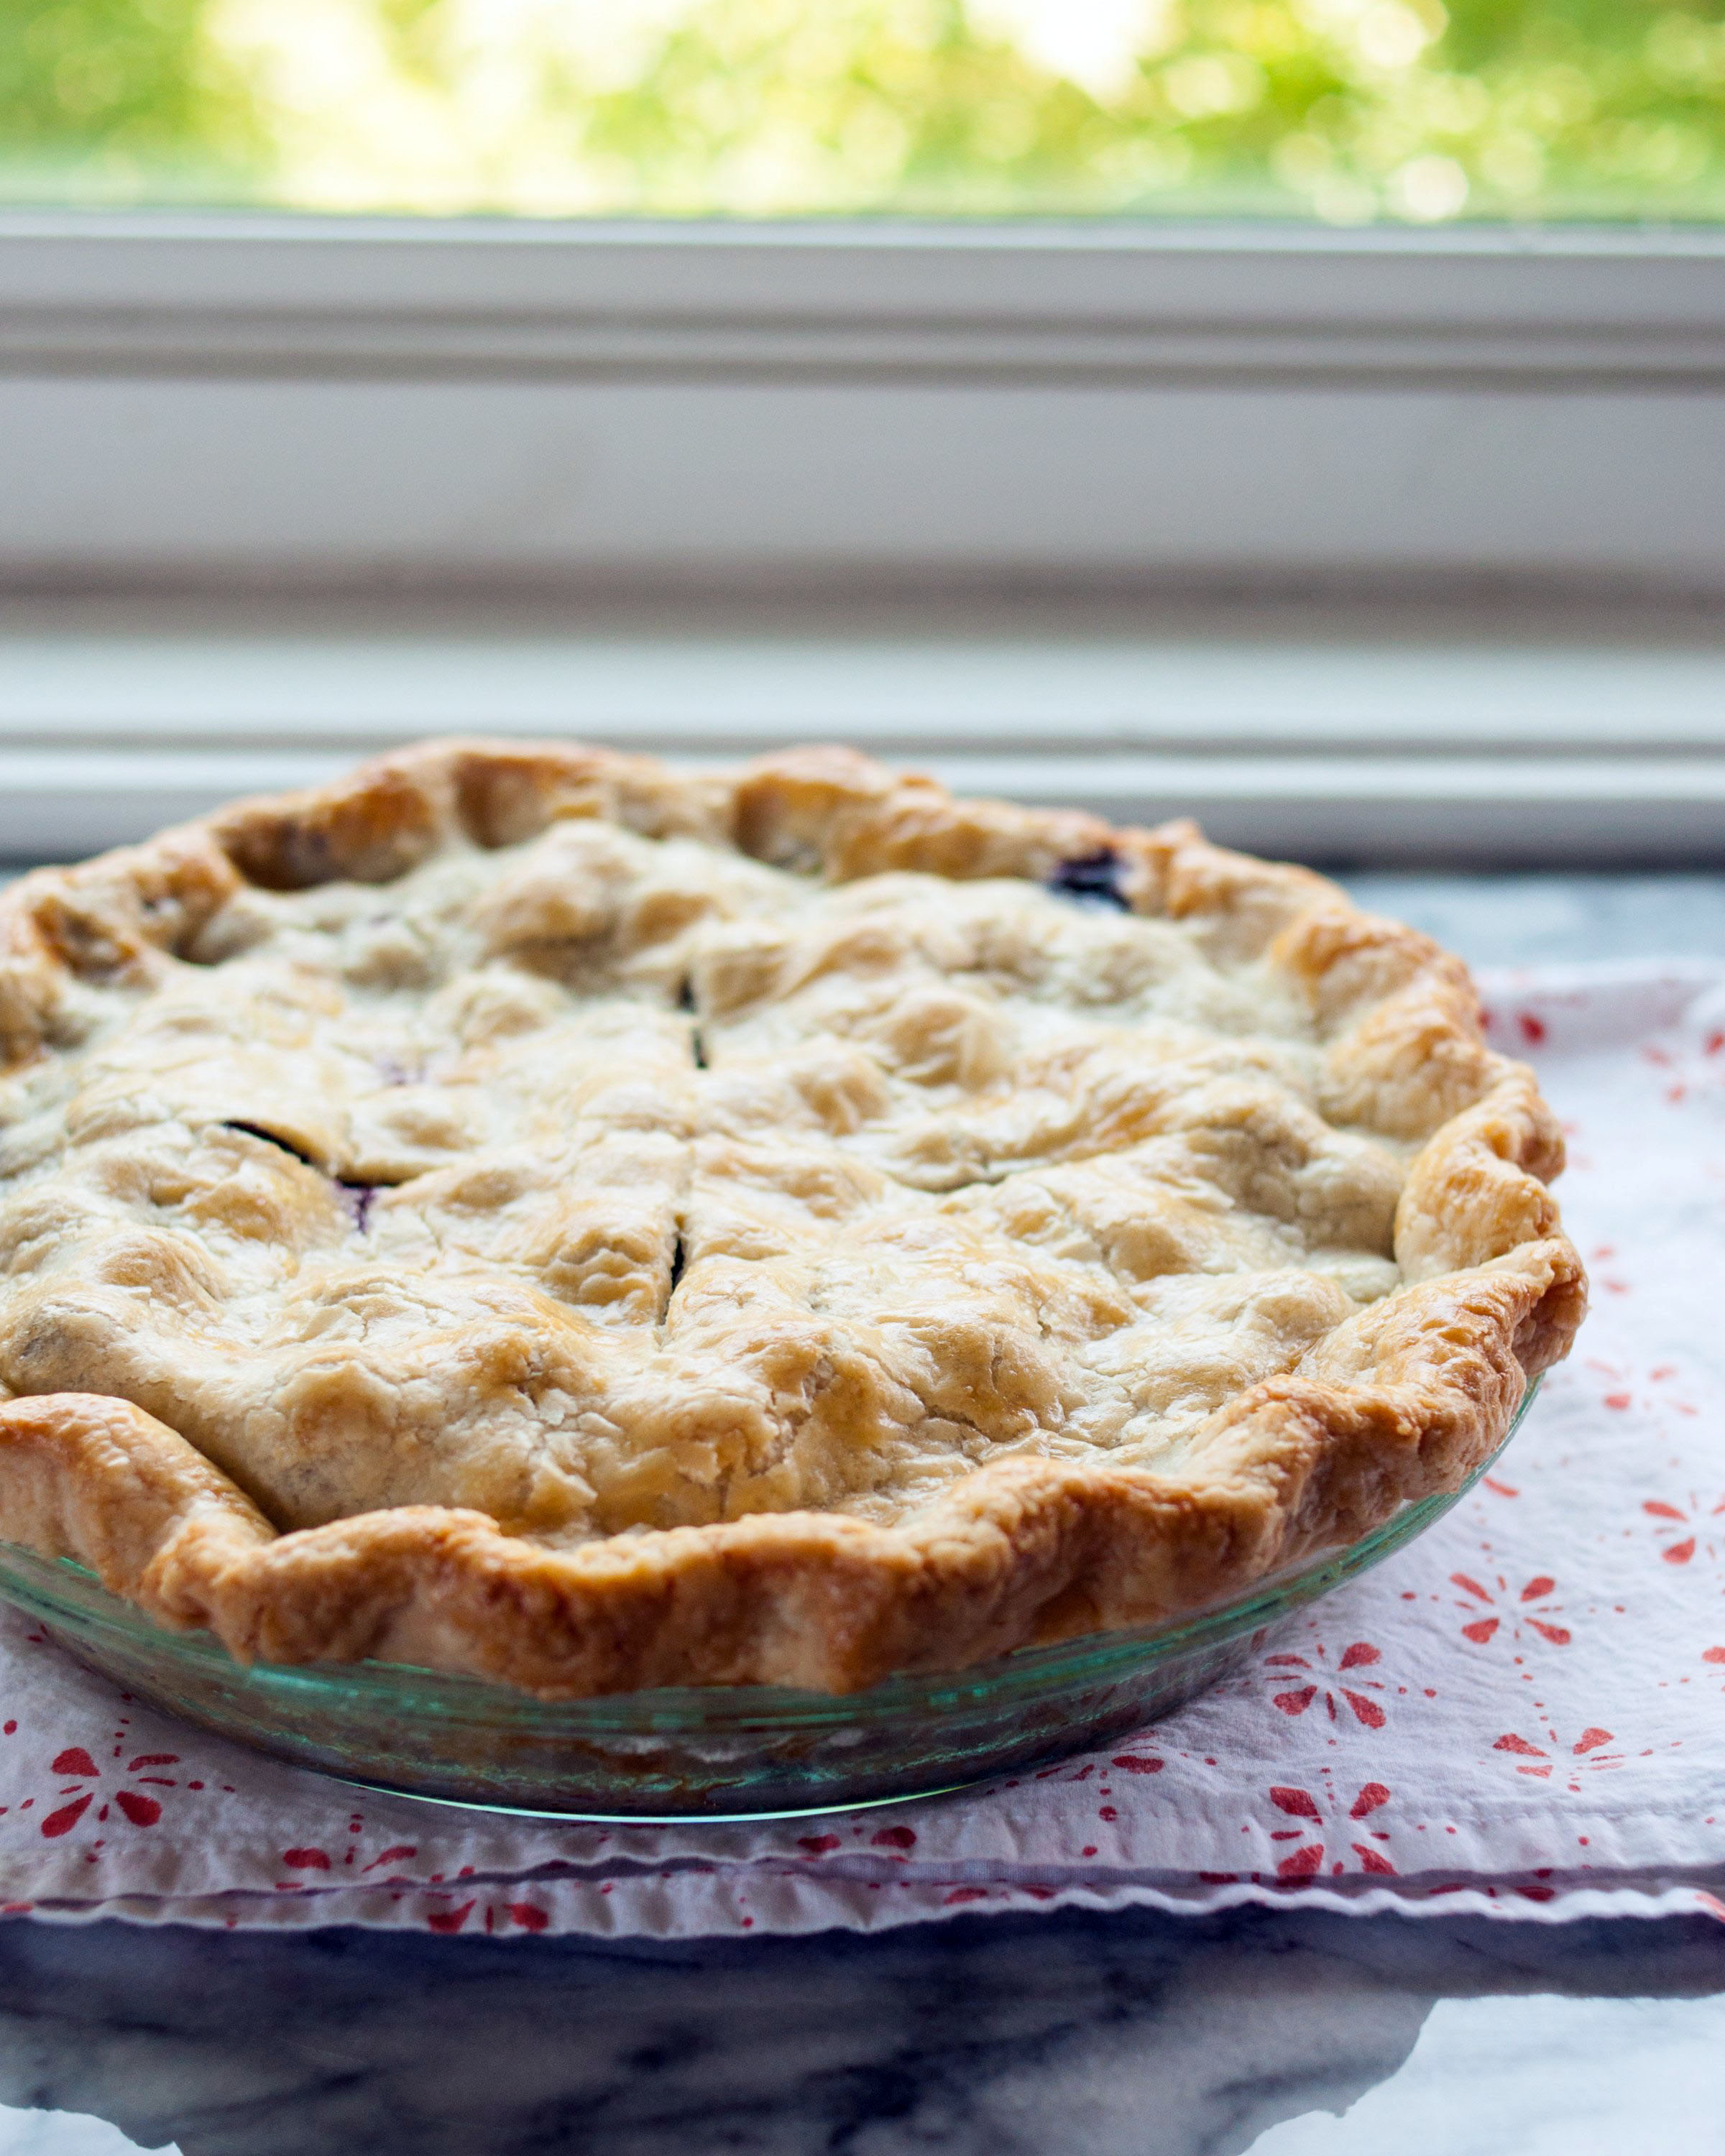
Next lesson: The more you make pies, the better you'll be. Making pie crust is a lot like riding a bike -- it takes a lot of practice before you can pull it off every time. That pie in the photo with this story? The one that looks so homey and pretty? I can honestly say that this is the first beautiful pie that I've ever made in my life. I was just as astounded as you when I pulled it out of the oven and saw that it hadn't shrunk, collapsed, burnt or otherwise become disfigured. I don't want to jinx myself by saying that I'm now a pie-making pro, but I really do feel that each pie I've made has been better than the last.
Here are a few more things to think about before you head into the recipe:
-- Butter vs. lard vs. mixed crusts
Pie crusts are made by working fat into flour -- when the fat melts during baking, it leaves behind layers of crispy, flaky crust. Yum. But just what fat you use in your pie is a matter of much debate -- one that really boils down to personal preference. All-butter pie crusts have a lovely, rich flavor, but because butter is brittle when cold and softens quickly, it can be difficult to work with. Lard and shortening are easier to work with and, arguably, make flakier crusts, but can leave your crust tasting a little bland. A good solution is to use a mix of both butter and lard or shortening. I leave it to you to decide what you like best.
-- Flaky vs. tender crusts
The flakiness of a crust is a result of both the fat you use and how much you work the fat into the flour before adding the water. Because of their higher melting temperature and its unique structure, lard and shortening make the flakiest crusts. But you can still make a very flaky crust using all butter (or a mix of butter and lard/shortening) by not over-incorporating the butter into the flour -- cut it into the flour just until you see pieces no larger than peas. Conversely, if you like a very tender crust, work the butter or lard into the flour until it resembles bread crumbs.
-- Keeping cool
One universal truth when making crusts is that you need to keep everything cool, particularly the butter (or lard, or shortening). Warm butter will be absorbed by the flour instead of coating it, resulting in a tougher, less flaky crust. Once you take the butter out of the fridge, work quickly to make the pie crust. Refrigerate the dough between each step. If you want to make a pie during hot weather, try to make it in the morning or in the evening when the temperature is a little cooler. You can also refrigerate your rolling pin and cutting board. Or just work quickly and refrigerate frequently.
-- Making it pretty
Last but not least, there are lots of ways to make your pie extra pretty. I love brushing the top with a simple glaze of egg yolk thinned with a little water. This makes a burnished, glowing crust. A friend of mine brushes her crusts several times during baking to make them even more golden and shiny. You can also brush the crust with cream or sprinkle it with a handful of large-grain sugar. Sparkly! If you're ready to level-up your pie, try weaving the top crust into a lattice. It's not that hard, but looks oh-so-pretty.
Knowing how to make your own pie from scratch is one of those skills that every home cook should have under his or her belt. You might not make pies very often, but when you do, you ought to feel confident!
How to Make a Pie
Makes 2 single or one double 9-inch crust
2 1/2 cup all-purpose flour
1 teaspoon salt
1 cup (2 sticks) unsalted butter, chilled (see recipe note)
4-8 tablespoons ice water
1 recipe for pie filling (see recipe note)
1 large egg yolk whisked with 1 tablespoon warm water
Equipment:
Food processor OR bowl, a pastry cutter and forks
Paring knife
Measuring cups and spoons
Rolling pin
Pastry scraper
9-inch pie pan
Pastry brush
Combine the flour and salt in the bowl of a food processor and pulse a few times to combine. Alternatively, if making crust by hand, whisk the flour and salt together in a mixing bowl.
Place a few ice cubes in a small ramekin and fill with water. Stir with a tablespoon measure and set aside.
Remove the butter from the fridge and unwrap. Use a paring knife to cut it into several small cubes.
Scatter the cubes of butter over the surface of the flour. Attach the food processor lid and pulse 15 to 20 times until the mixture resembles cornmeal with pieces of butter no larger than a pea. Alternatively, cut the butter into the flour using a pastry cutter, a fork, or your fingertips.
Remove the lid and sprinkle 4 tablespoons of ice water over the surface of the butter-flour mixture. Pulse a 4 to 5 times to combine. Check to see if the dough is holding together by squeezing a bit in your hand -- if it holds together, it's ready; if it breaks apart easily, add a little more water. Add more water a tablespoon at a time as needed. The final dough should not come together in a dough, but you should see no more powdery flour and the dough should just be starting to clump together in large crumbs. Alternatively, sprinkle the water over the flour and use two forks to toss the flour to combine. Test the dough and add more water as described above, handling the dough as little as possible with your hands.
Turn the pie dough out onto a clean work surface. Divide the dough into two piles. Use the palm of your hand to quickly gather and press each mound into a thick disk. Wrap in plastic and refrigerate for at least 30 minutes or up to 4 days (or freeze for up to 3 months; defrost in the fridge overnight before using).
Remove one of the disks of dough from the fridge. Sprinkle your work surface and rolling pin with flour. Unwrap the dough and lay it on top of the flour. Working from the middle of the dough outward, roll the dough into a circle roughly 12 to 13 inches in diameter (a few inches larger than your pie pan). Use firm strokes and work the dough as little as possible. If the dough cracks when you first start rolling, let it stand for one minute to warm slightly before rolling again. Use more flour if the dough starts to stick. Use a pastry scraper to lift the pastry from the work surface and make sure it's not sticking.
Sprinkle the top of the pie crust and your rolling pin with a little flour. Lay your rolling pin on one edge of the pie crust and begin gently rolling the pie crust over the rolling pin. When it's all rolled up, move it to the pie pan and gently unroll. Ease the pie crust into the corners of the pan. Trim all but an inch or two of the pie dough from around the edge; use the trimmings to patch up any holes or tears.
Transfer the pie pan with pie crust to the fridge and chill for 30 minutes.
While the crust is chilling, heat the oven to 425 F with a rack in the middle position.
While the crust is chilling, prepare the filling following your recipe's instructions.
Remove the pie pan with crust from the refrigerator and fill it with the prepared filling.
Remove the second disk of dough from the fridge. Following the same instructions for the bottom crust, roll it into a circle roughly 11 to 12 inches in diameter. Roll the pie crust over the rolling pin and transfer it to the top of the pie.
Trim the edges of the top crust. Press the top and the bottom crusts gently together and fold them under themselves around the circumference of the pie. (Some pie-makers roll their crusts the other way, and that's fine. Go with what feels right to you.) Crimp the edges or press them lightly with a fork to seal.
Brush the entire crust, including crimped edges, with the egg yolk wash. Use a sharp paring knife to cut several vents into the top crust to allow steam to escape.
Place the pie on a baking sheet to catch any drips and transfer to the oven. Bake for 15 minutes.
Lower the heat and continue baking the pie for another 30 to 40 minutes, until the crust is golden brown and the fruit filling is bubbling. If the edges of the crust start to darken too quickly, cover them with aluminum foil.
Let the pie cool on a cooling rack for at least 4 hours before slicing and serving. Leftovers can be covered with a cake dome or wrapped in plastic and kept on the counter for several days.
Recipe notes:
Butter crust vs. lard crust vs. mixed crust: Substitute lard or shortening for all or some of the butter in this recipe.
Fruit Filling: This recipe assumes that you're following another recipe for the pie filling. If not, general proportions for pie fillings are 5 to 6 cups chopped fruit, 3/4 to 1 cup sugar, 3 to 4 tablespoons cornstarch, and a squeeze of lemon.
(Emma Christensen is recipe editor at TheKitchn.com, a nationally known blog for people who love food and home cooking. Submit any comments or questions to kitchn@apartmenttherapy.com.)